
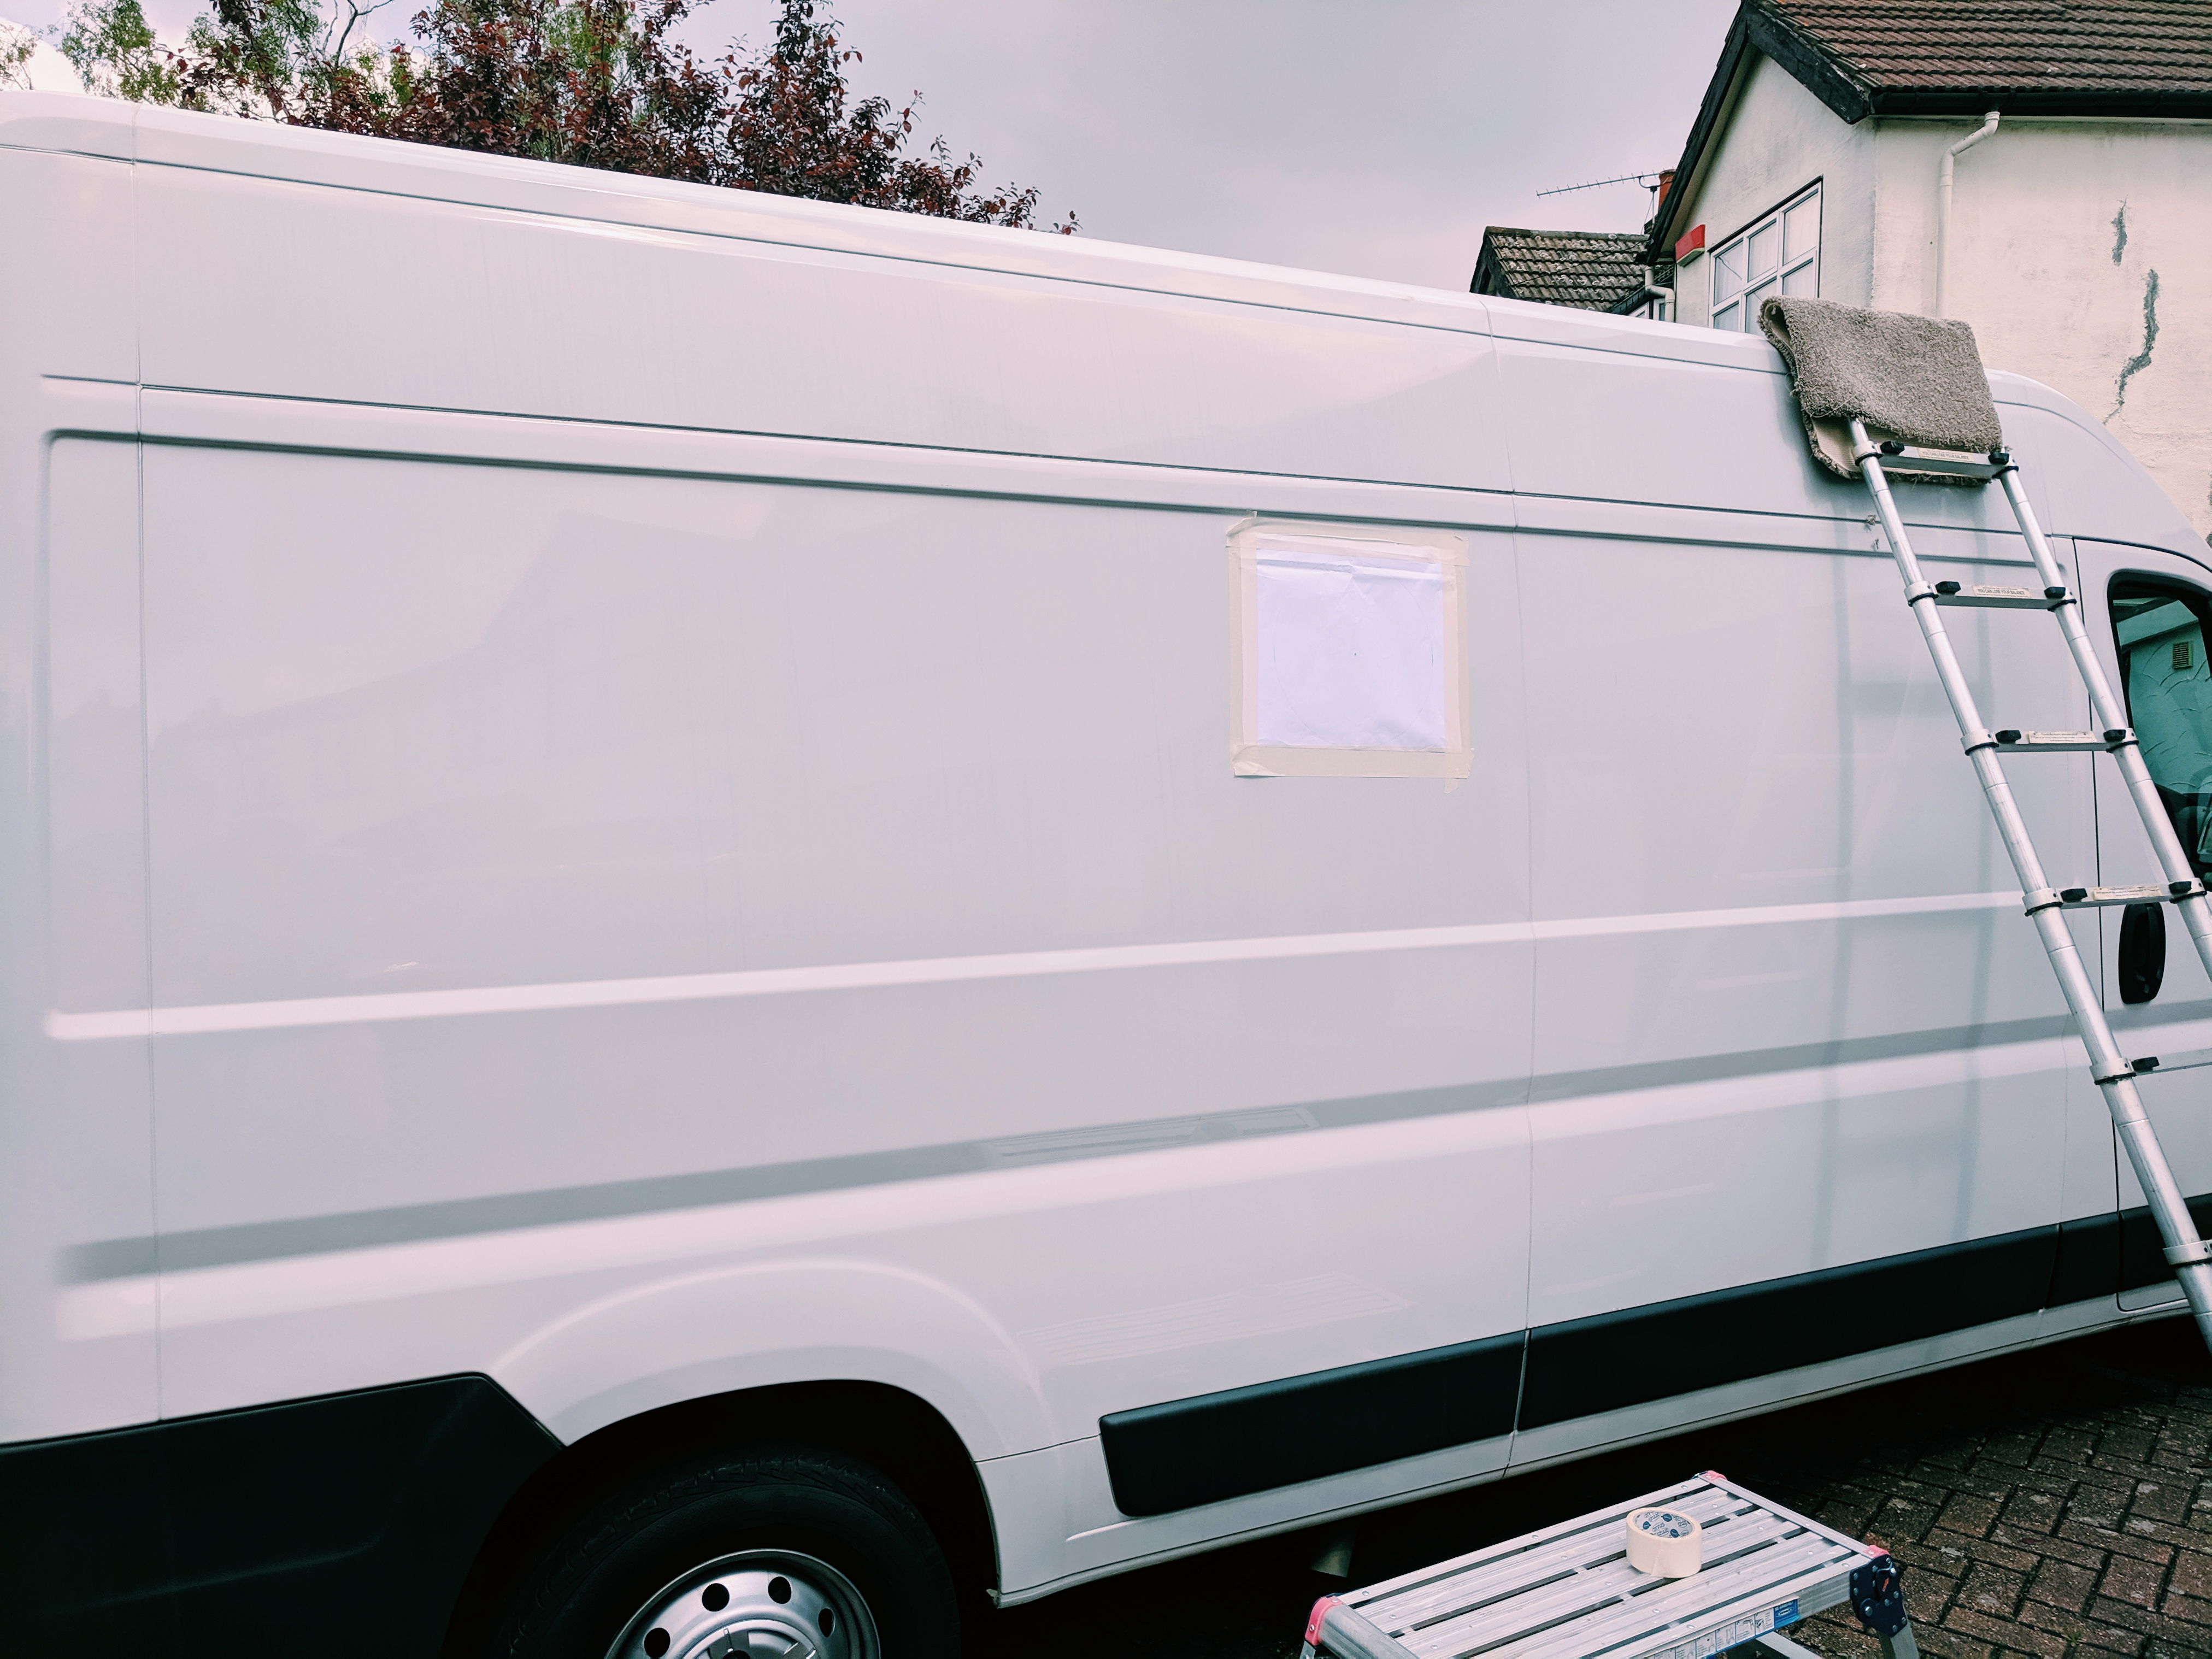
The majority of our windows are Dometic Seitz S4 windows but we were keen to add some character and extra light into our build by also installing a porthole.
We looked at a range of portholes ranging from the very cheap (£23.99 polycarbonate porthole from eBay) to proper marine windows. The cheaper options were tempting but we were concerned about polycarbonate perishing over time through exposure to high/low temperatures and what would happen if it did – we would have had to replace with a porthole of identical cut out or larger as once a hole is cut in the van it is very hard to go back. Our base van wasn’t especially cheap and we did want to install options that would last well – also, seeing as the rest of our windows were double glazed this one probably should be as well! With a cheaper base van or a van intended for use in less harsh climates (our van might have to cope with -25C in the Alps!) we might have chosen differently.
We bought our double glazed 300mm porthole from Wesley Marine Windows, although far from cheap they were really helpful and if you are thinking about getting one we would recommend speaking to them. The window is designed to be fitted to a canal boat, so has clamps that are well suited to a 2mm thick van wall.
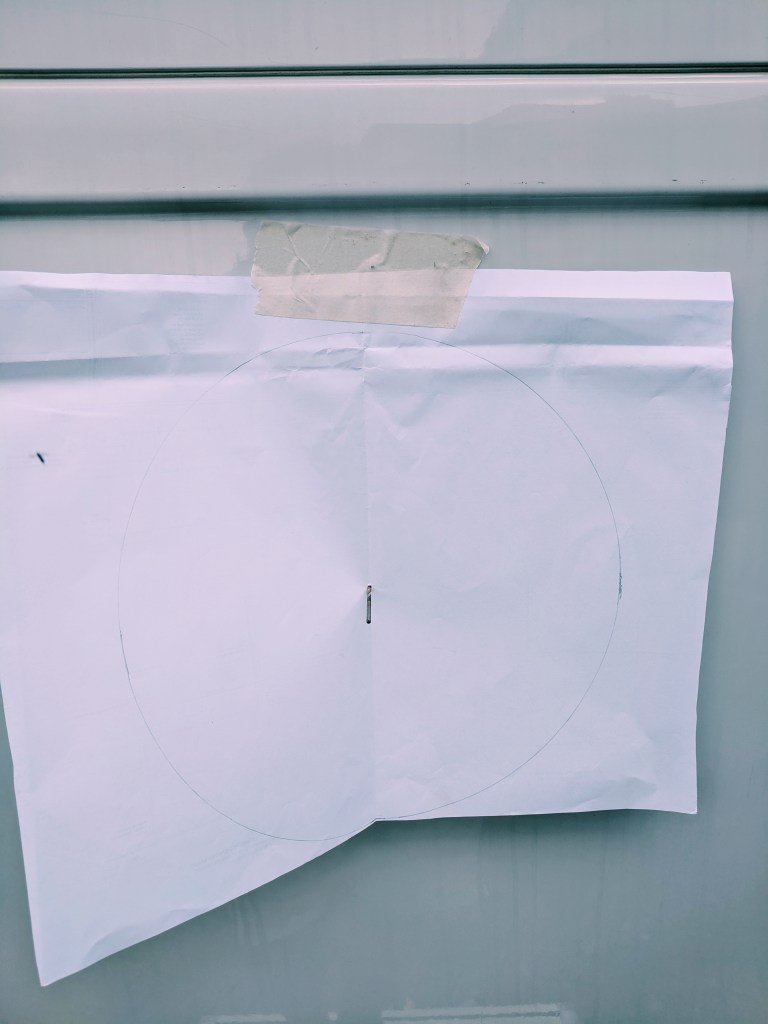
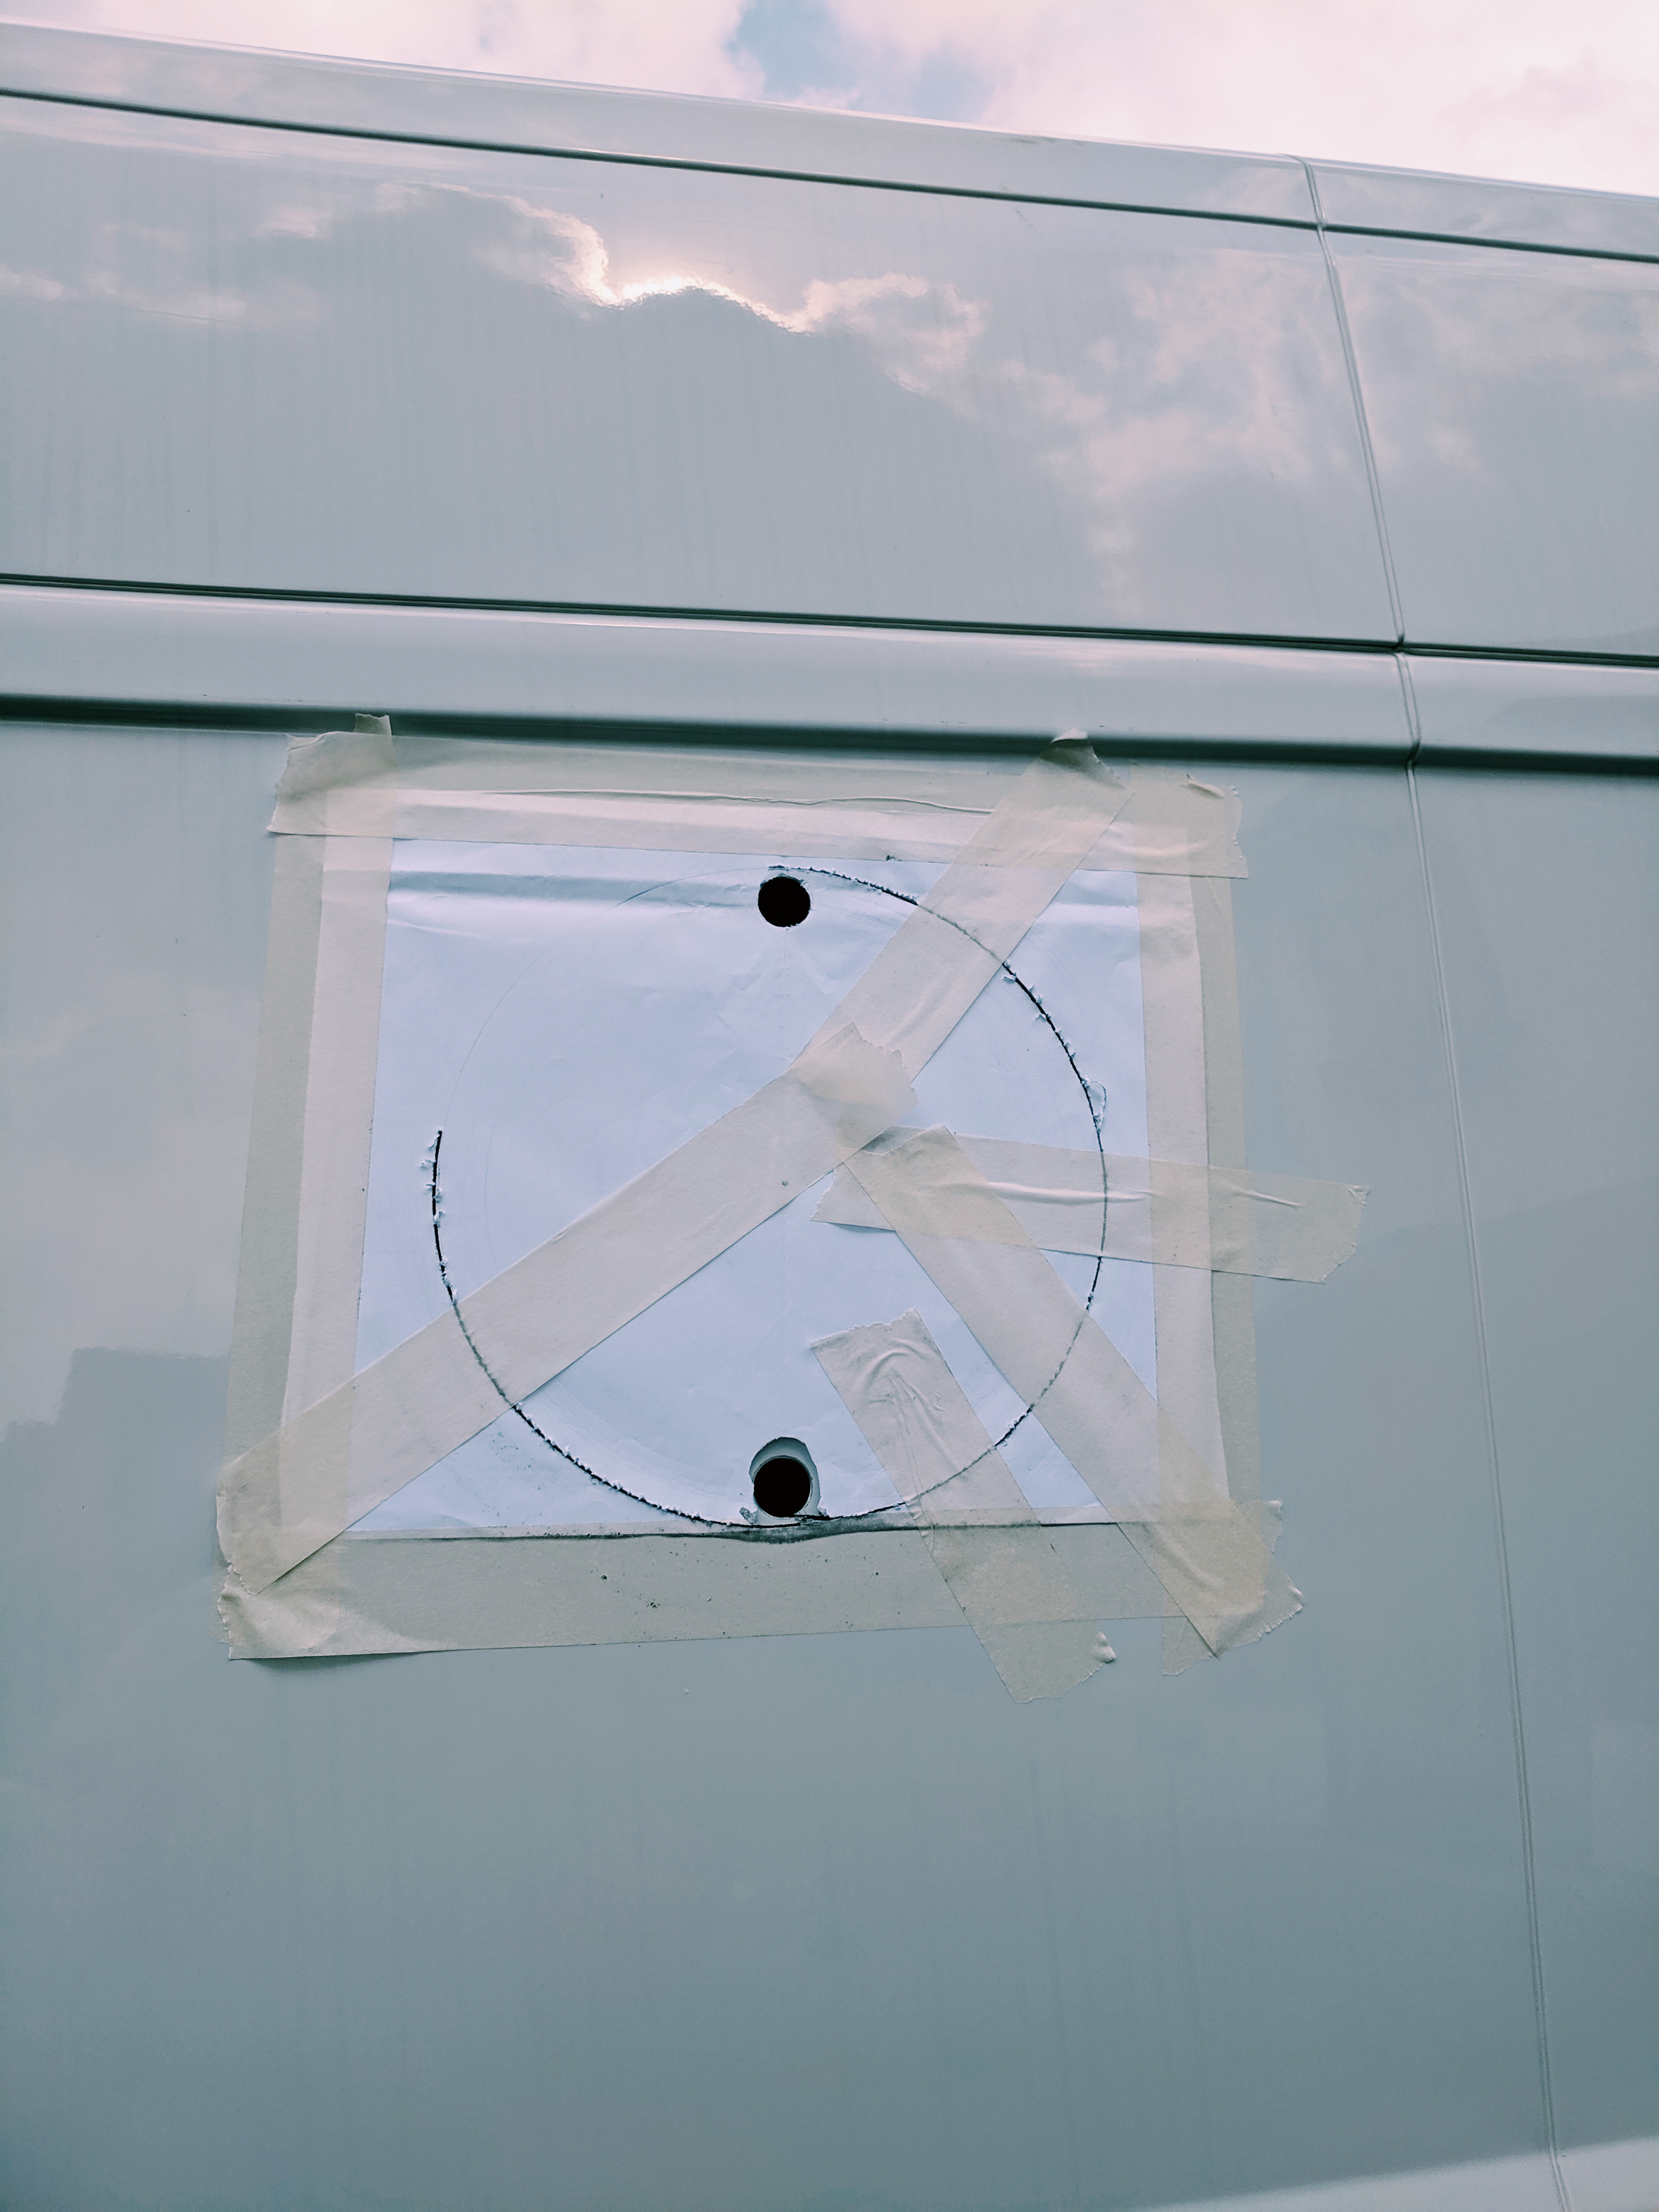
It’s important to get the placement and the size of the hole right when fitting these! We started by drawing out the size of the circular cut out on a piece of paper (this was 305mm for our window). We then tacked this in to the right position on the inside of the van and then drilled through the centre of the circle (where the compass had been) with a 2.5mm drill bit.


Moving on to the outside, we pushed the drill bit through our paper template into the hole in the van, so our circle was now in the same position outside as it had been inside.
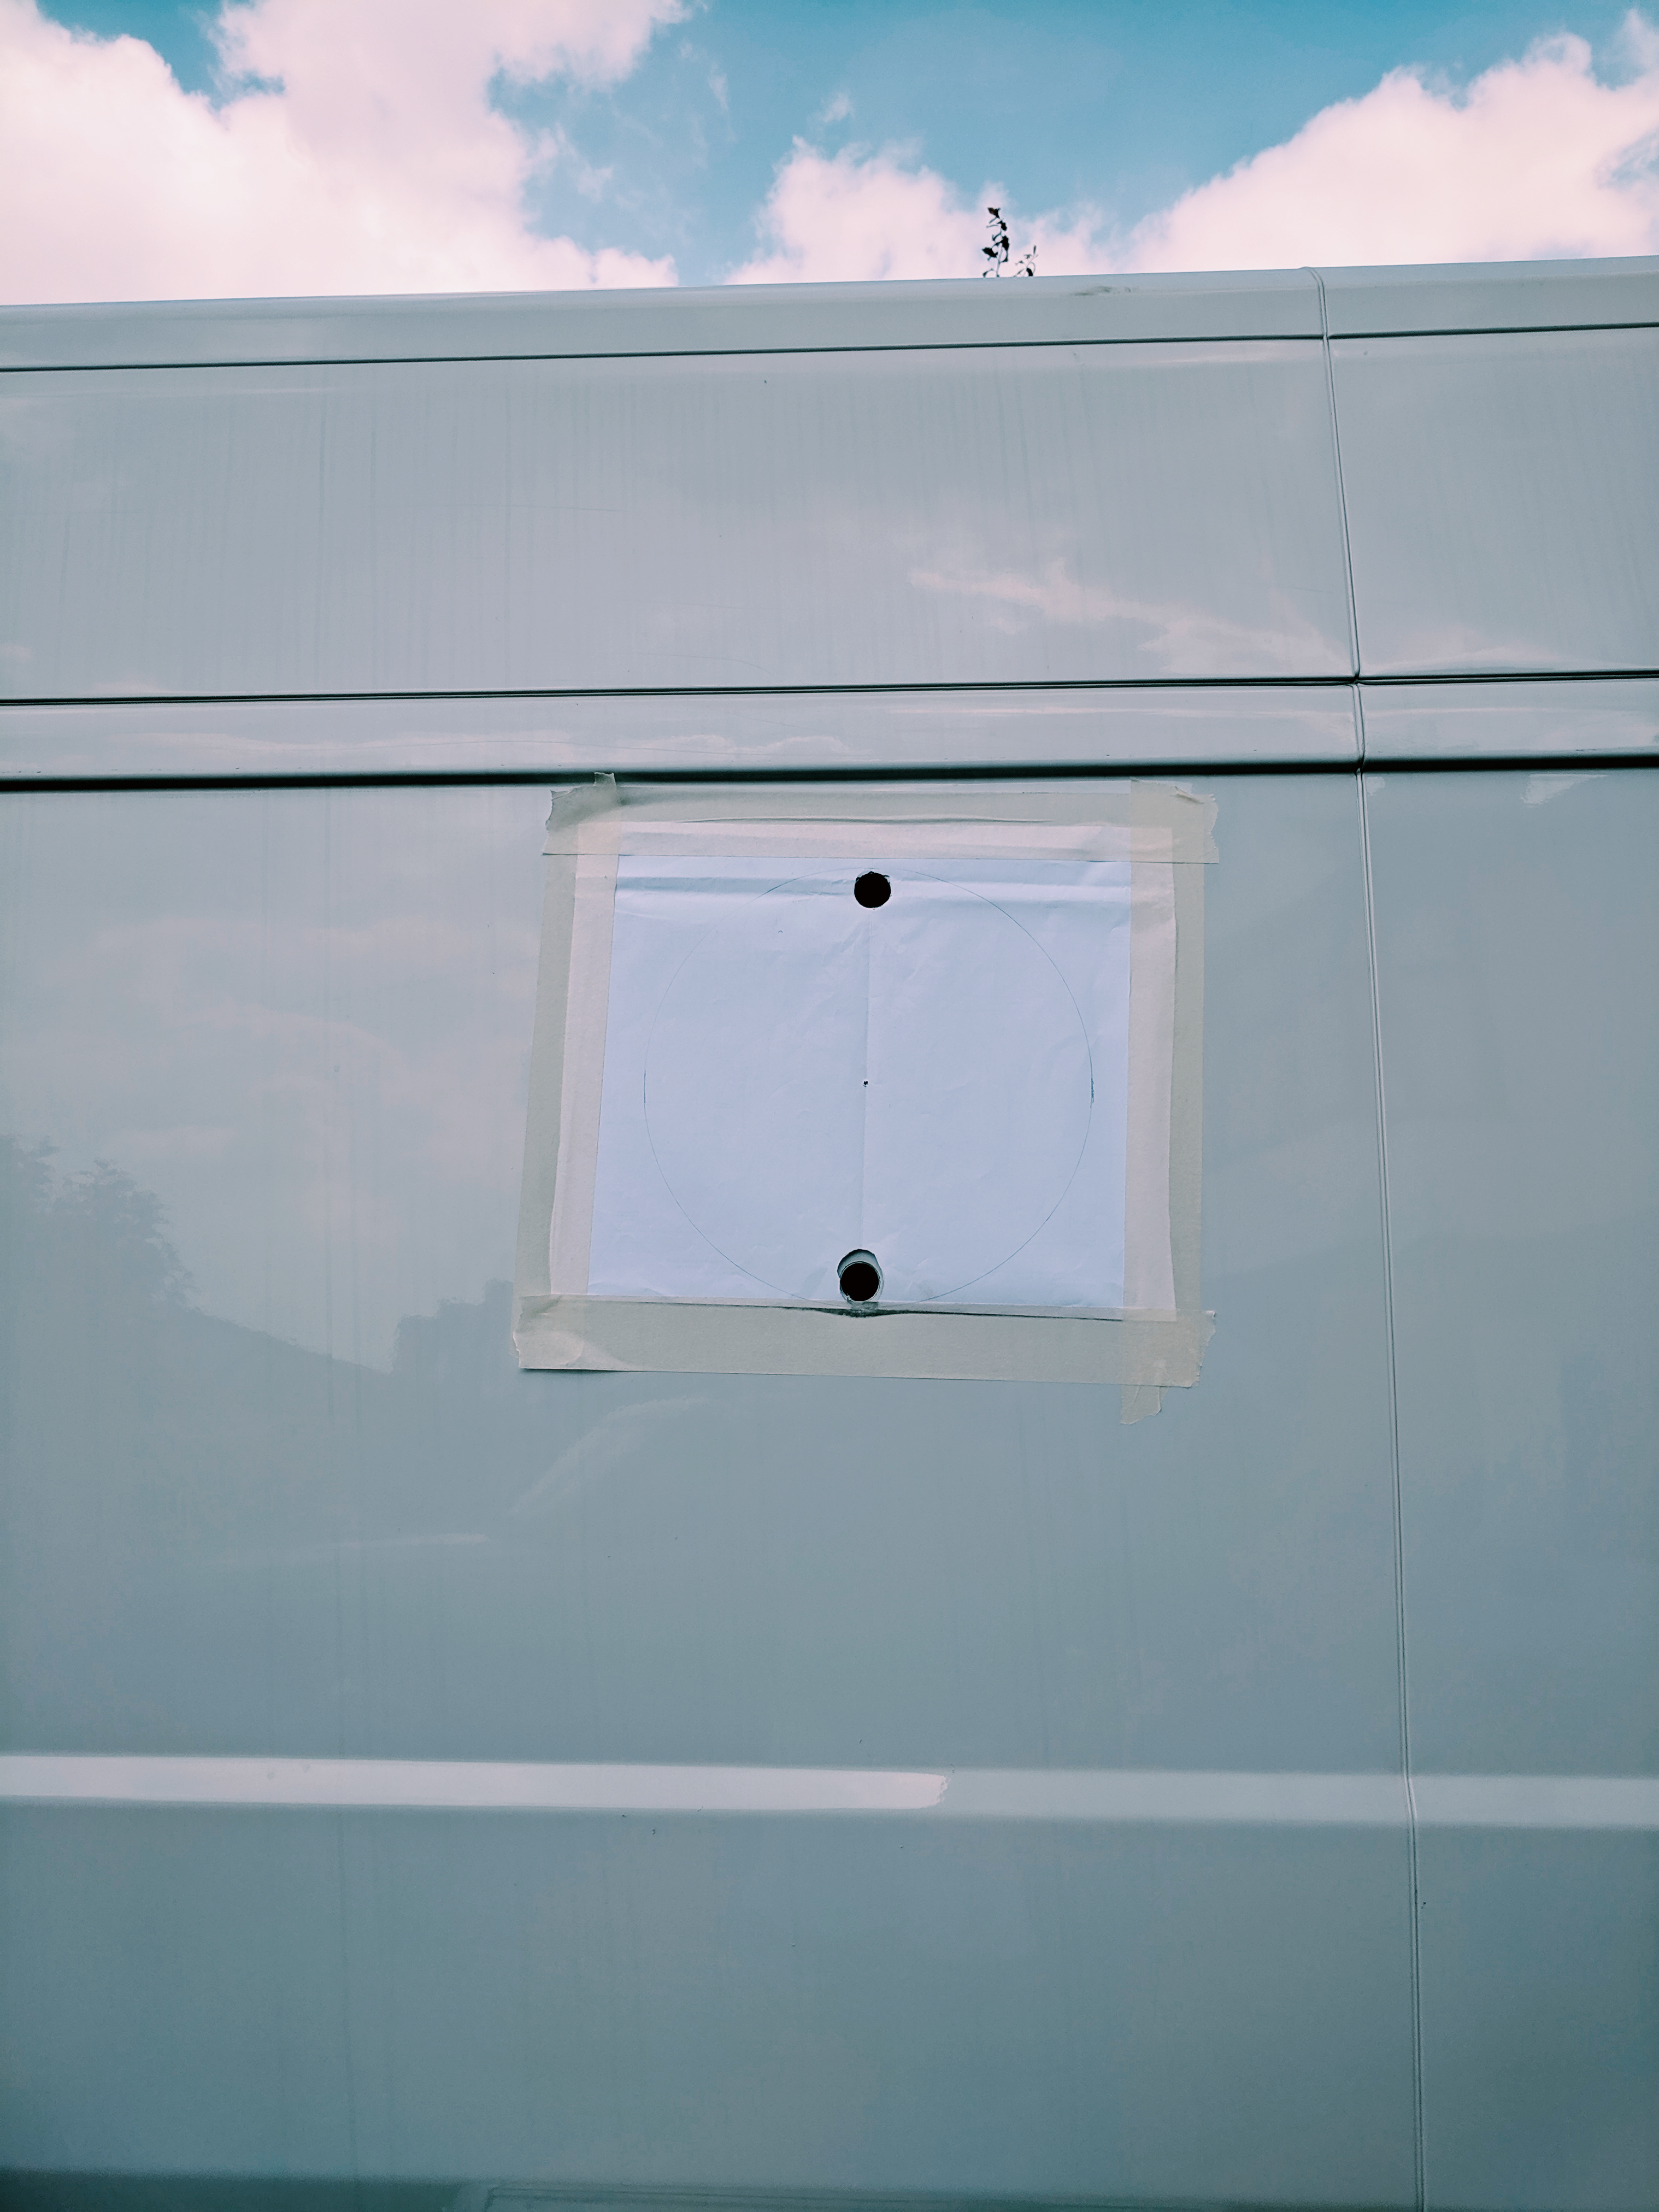
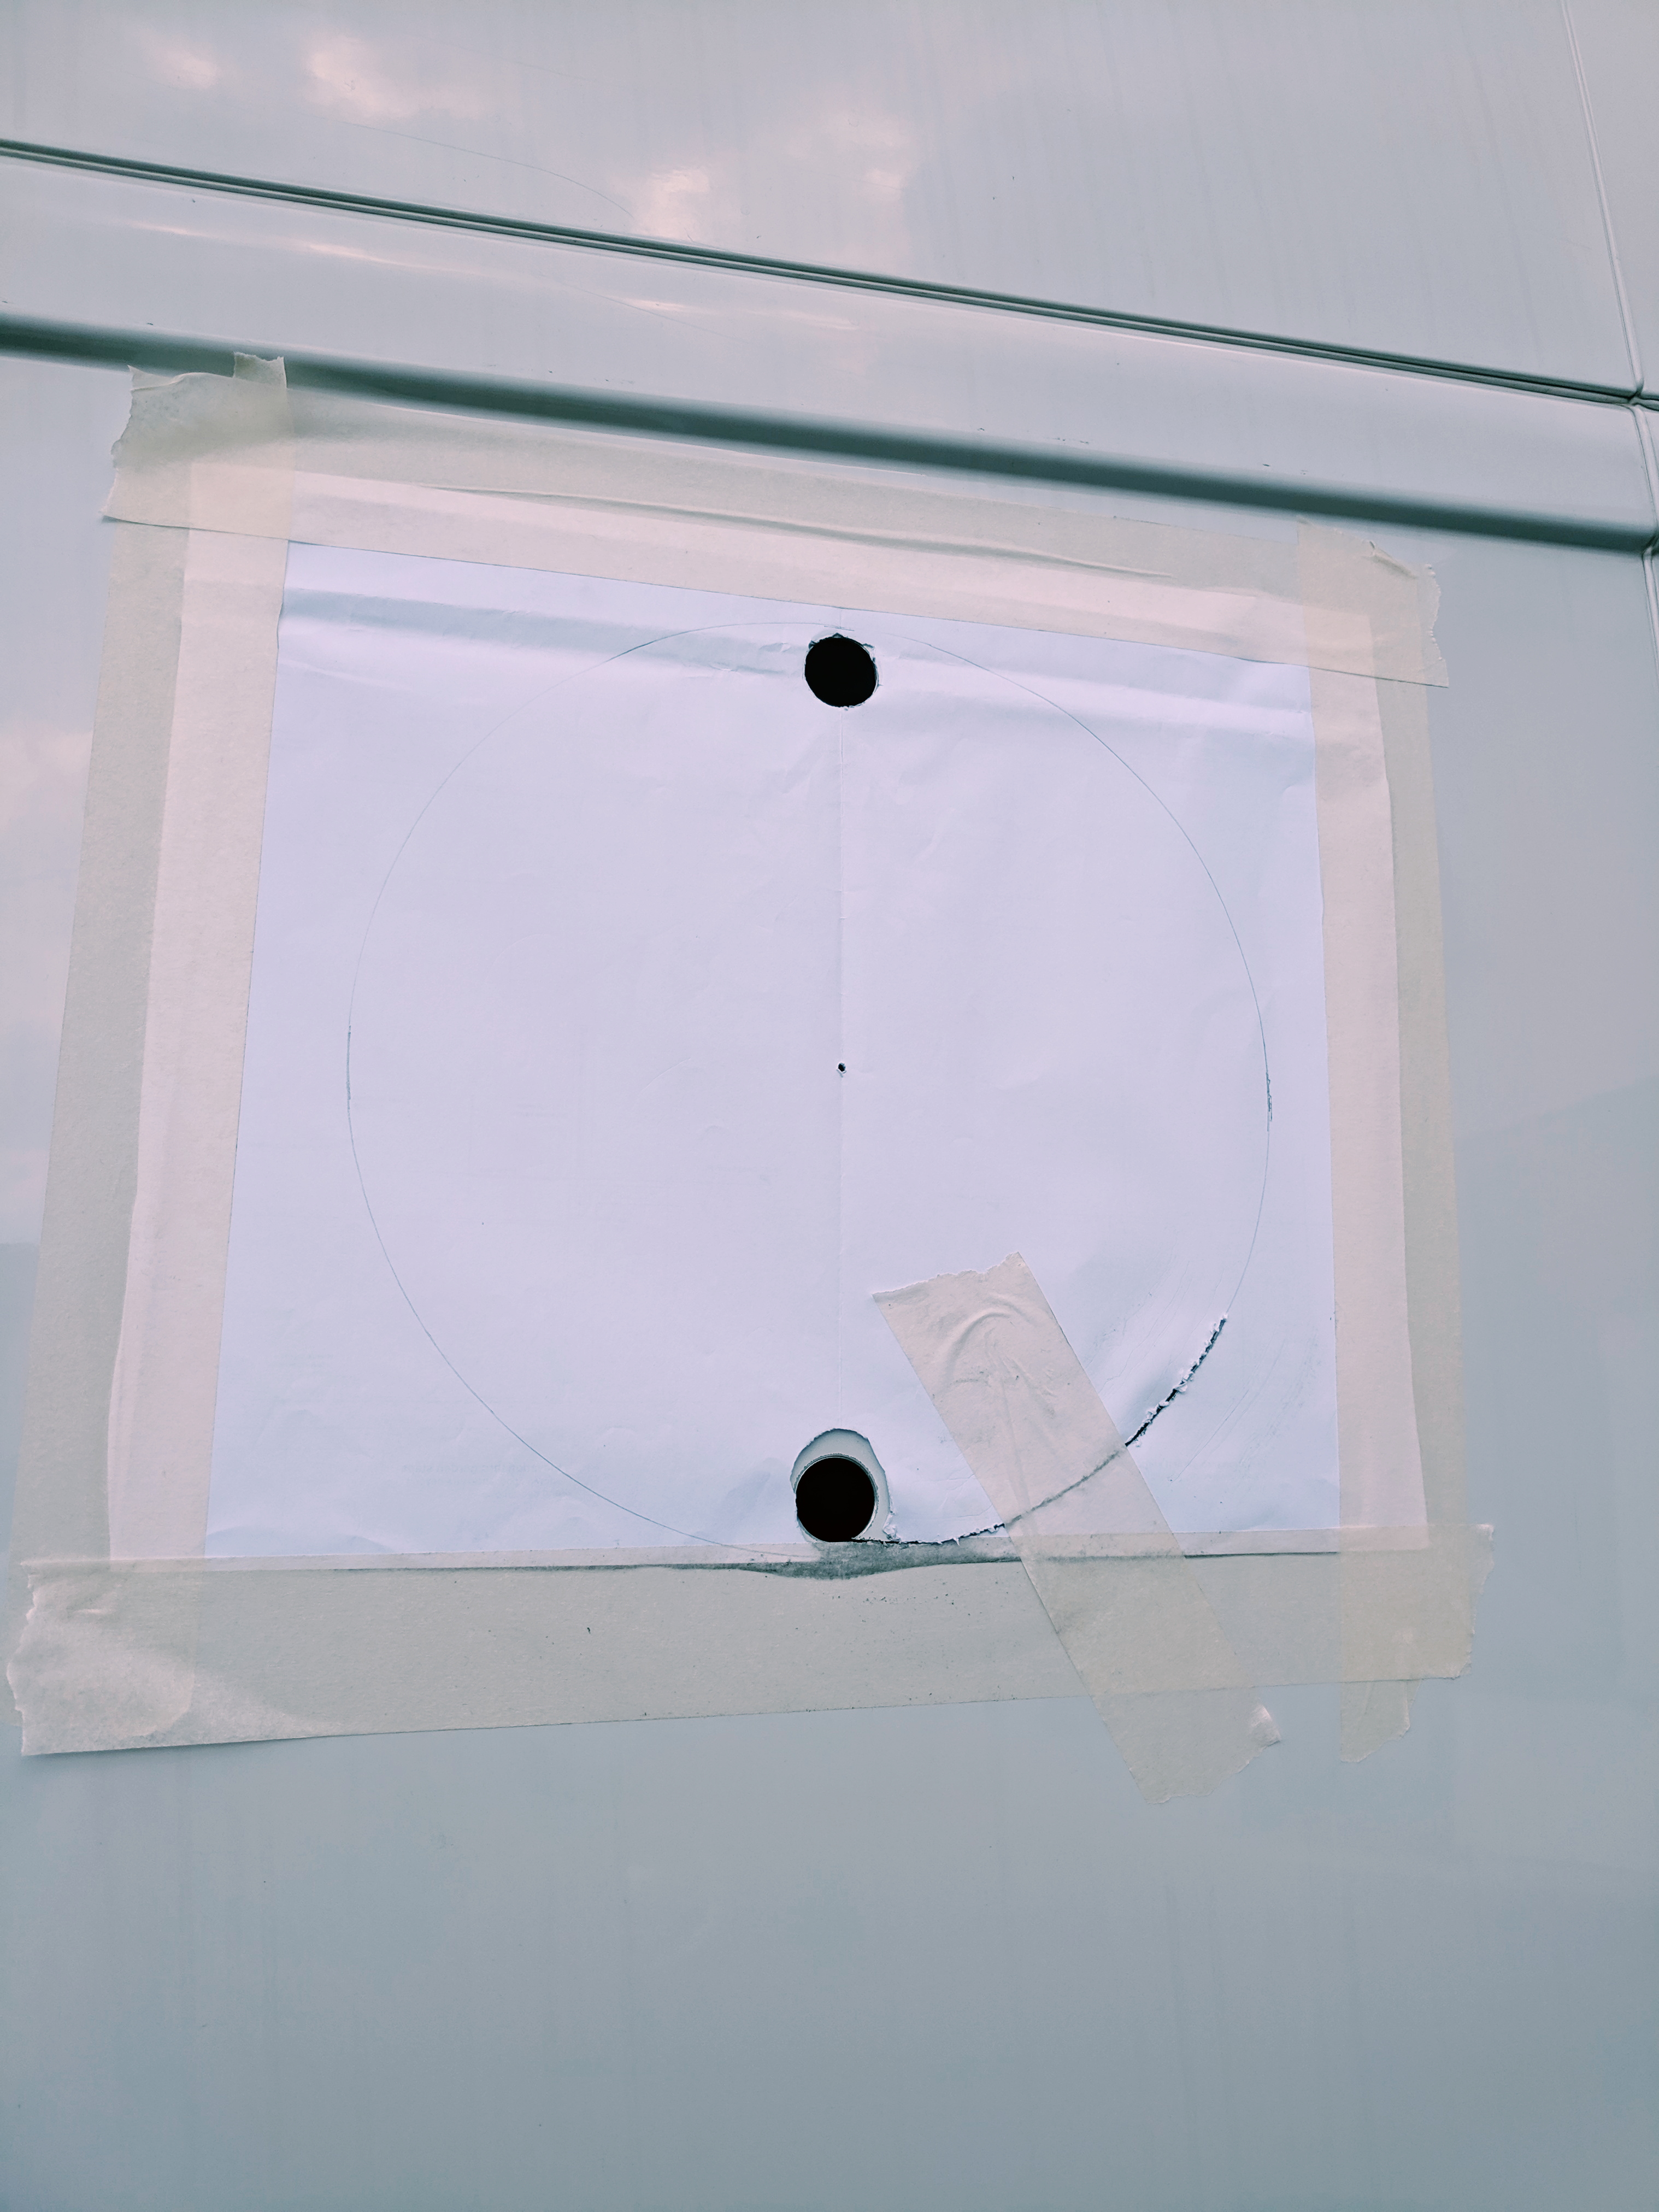
After taping the paper template securely to the van, we drilled a large diameter hole inside the line to allow us to get the jigsaw in (we also drilled a second hole at the top but didn’t in fact need this).
We then carefully cut around the template using the jigsaw – we cut on / just outside the line so that the hole came out around 1-2mm oversize as it would be very difficult to enlarge a circular hole with a file.
We were then back on to the familiar stages of using a file to clean up the edges, cleaning off the cut edge and the paintwork around with a solvent cleaner (we used standard thinners throughout the build) and then painting the bare metal with hammerite.
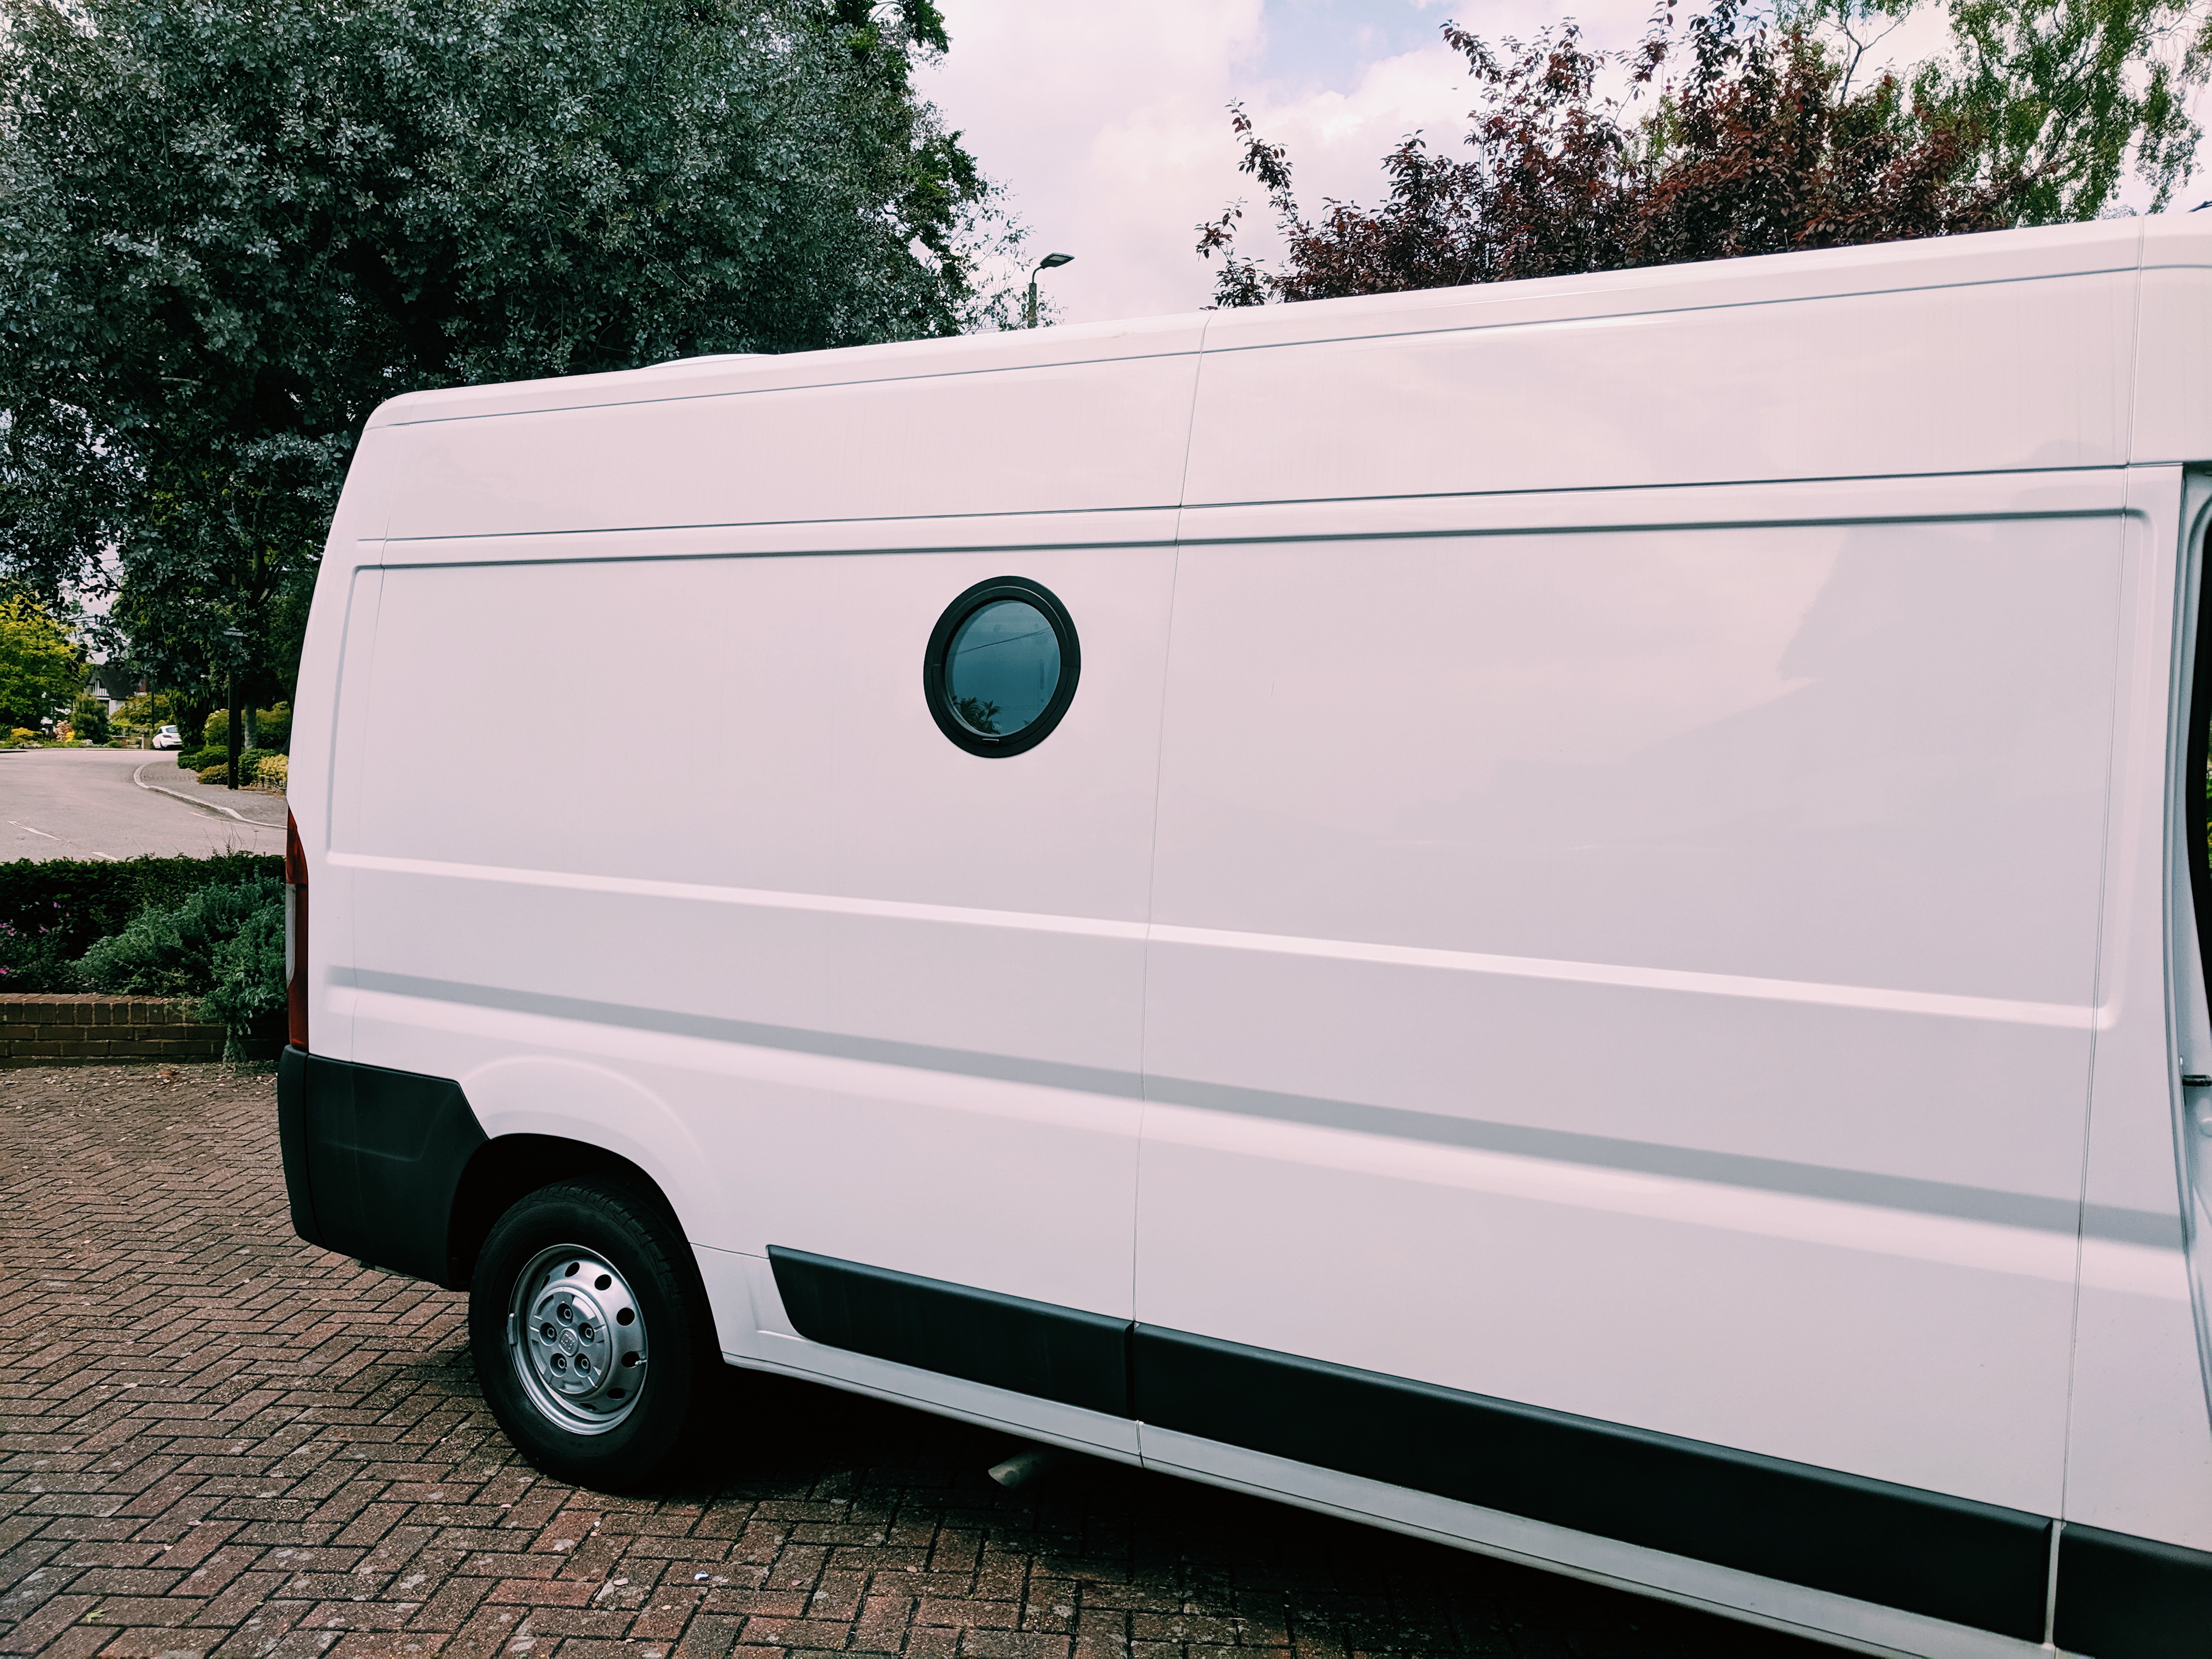
Installing the window was really easy, we just fitted it from the outside and then secured it in place with the 6 metal clamps provided.
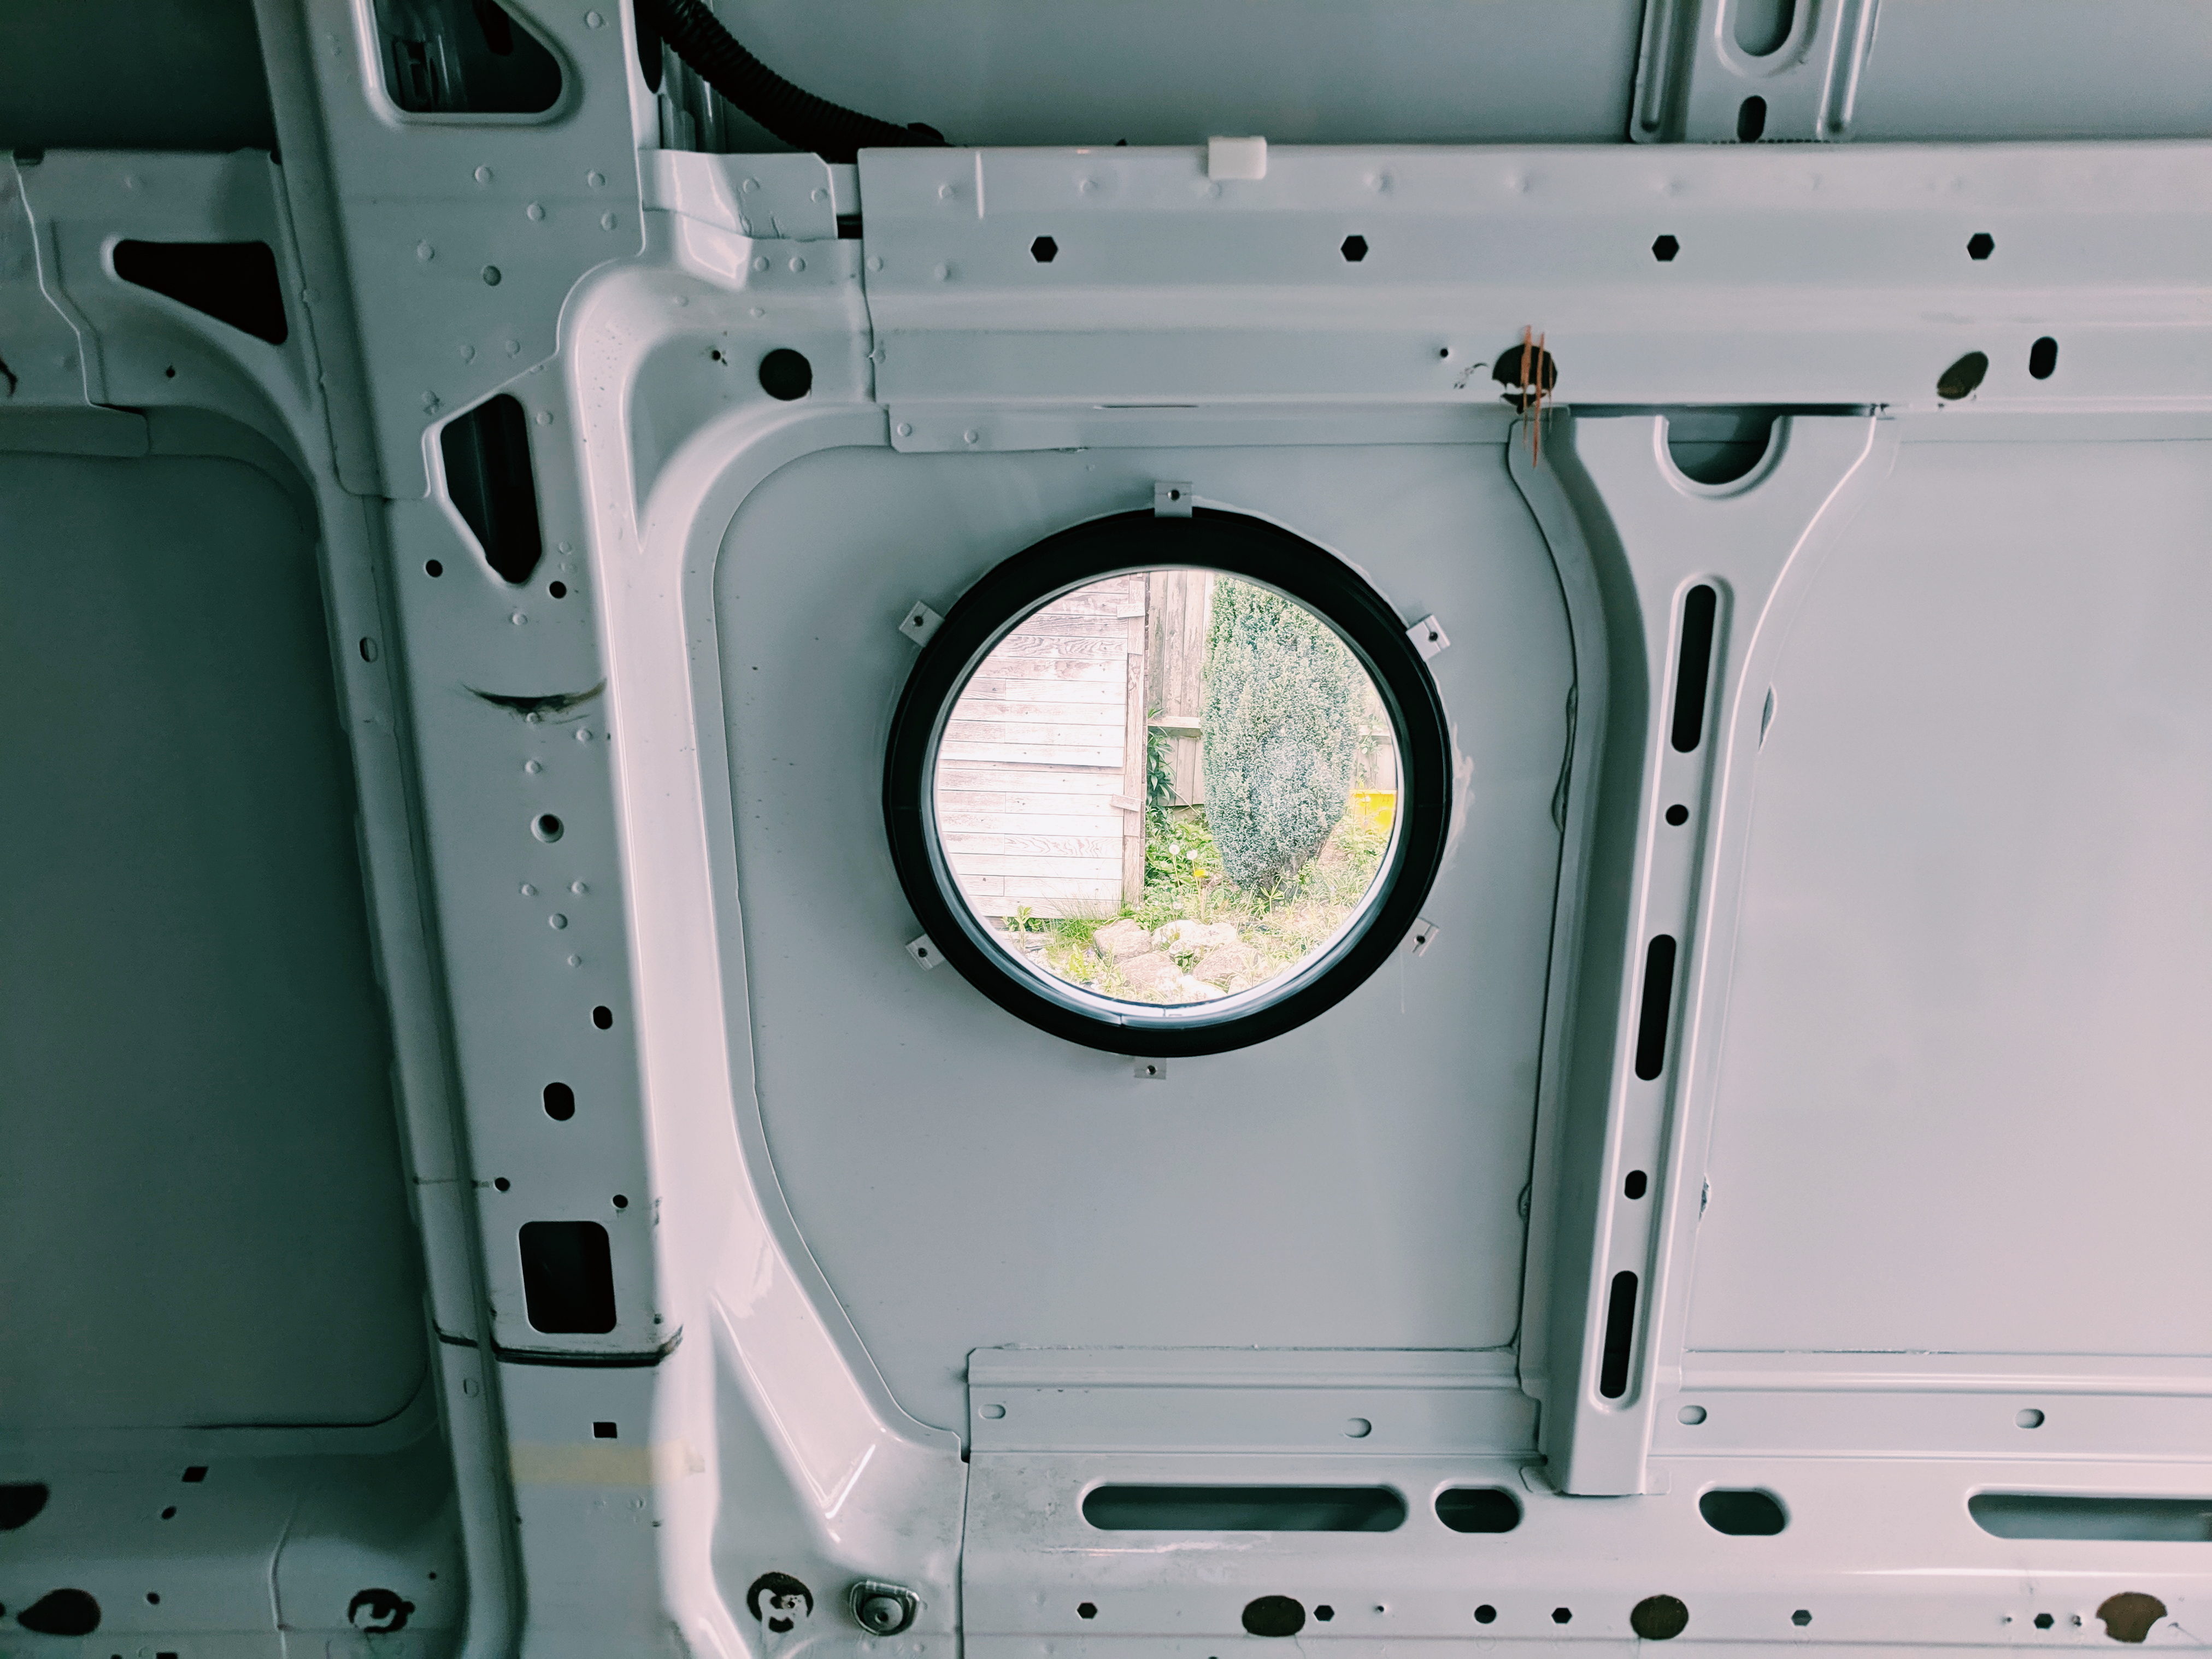
Wesley also sell a porthole liner in either metal or wood for finishing off the inside, which will fill in the gap between the cladding and the porthole itself. We’re going to wait until we have got our ply lining fitted to order this so that we can make sure it is the correct depth, and will update this blog post when we do.

Ta daah! Doesn’t it look good? We’re really happy with the amount of light now coming into the back of our van.
