
We have drawn on a few different sources for insight as to how to go about our build and the one that we keep referring back to is Self Build Campervan Conversions – A guide to converting everyday vehicles into campervans & motorhomes by Kenny Biggin. One thing that this book does is give you a clear idea of how you should order the various tasks in your build. In particular one of the first steps he suggests is cutting all the holes you will need in the van for rooflights, windows and other things (we will cover how we are planning out the build in a later blog post). Taking that on board, our first true act in the conversion (other than buying the van) was choosing rooflights and then cutting a big hole in the roof!
The Fiat Ducato has an area of the roof that in the front section that is not ribbed, which is designed for taking a rooflight. Since the rest of the roof is ribbed you need an adaptor plate to install a rooflight in this as otherwise you may not get a good seal. If you install a window frame which is flat on a ribbed section of the roof, there will be gaps underneath the frame where water can get it. In theory it is possible to fill these gaps with timber and sealant, or just sealant, but in our view neither are really suitable for filling a 10mm + deep void that is external to the van. For many vans plastic inserts are available which match the profile of the roof, but with a flat top so you can properly seal your rooflight.
On our Ducato the flat area measures around 700 x 460mm and we were hoping to have a large front rooflight to get extra light in to the kitchen area and then have a rear rooflight which would be a fan. We have read that fan rooflights are especially helpful if you cook and have a shower in the van as you can extract air out of them, as well as using it as a normal fan in hot weather.
The most common size for a rooflight is 400 x 400mm and although there are a number of other sizes we couldn’t find one that would fit our Ducato’s front cut out. The closest we came was a Dometic Midi Heki rooflight which required a 700 x 500 cut out, but this is too big and would mean using the ribbed section of the roof. We are sure there is one out there that would be the right size but we couldn’t find it. We also realised that the shower and hob are both in the front section of the van so it would be best to have the extractor here. So we changed our plans a bit and decided to go with a single rooflight in the front of the van, which would be a fan rooflight. We will add an extra porthole window to compensate for the resulting loss of light.
We looked at a few different options including one from Fiamma, the Thule Omnivent and the Maxxair MaxxFan. In the end we decided to go for the Maxxair as despite the silly name this was the only unit that is ‘weather sealed’ – by this we mean that when it is open there is no direct route to the sky (it has a lift up skirt and pulls air through the underside at the back. This seemed like a big advantage as if it is up when it is raining you don’t get wet. Jackson Leisure turned out to be the cheapest supply for this and also delivered it to us next day.
We made an internal timber frame for the fan to screw down into from 20mm by 32mm pine. We used pine as it is light and will not be visible in the finished build as it is within the roofspace. We didn’t have any planed pine of the right size lying around so used a bandsaw and planer thicknesser to get a larger piece to produce what we needed. We then cut it to size and used a pocket hole jig to allow us to screw it together. You could also just use screws through the end if you don’t have a pocket hole jig, as it is only there to provide a material to screw in to from above.
Fitting our Maxxair MaxxFan
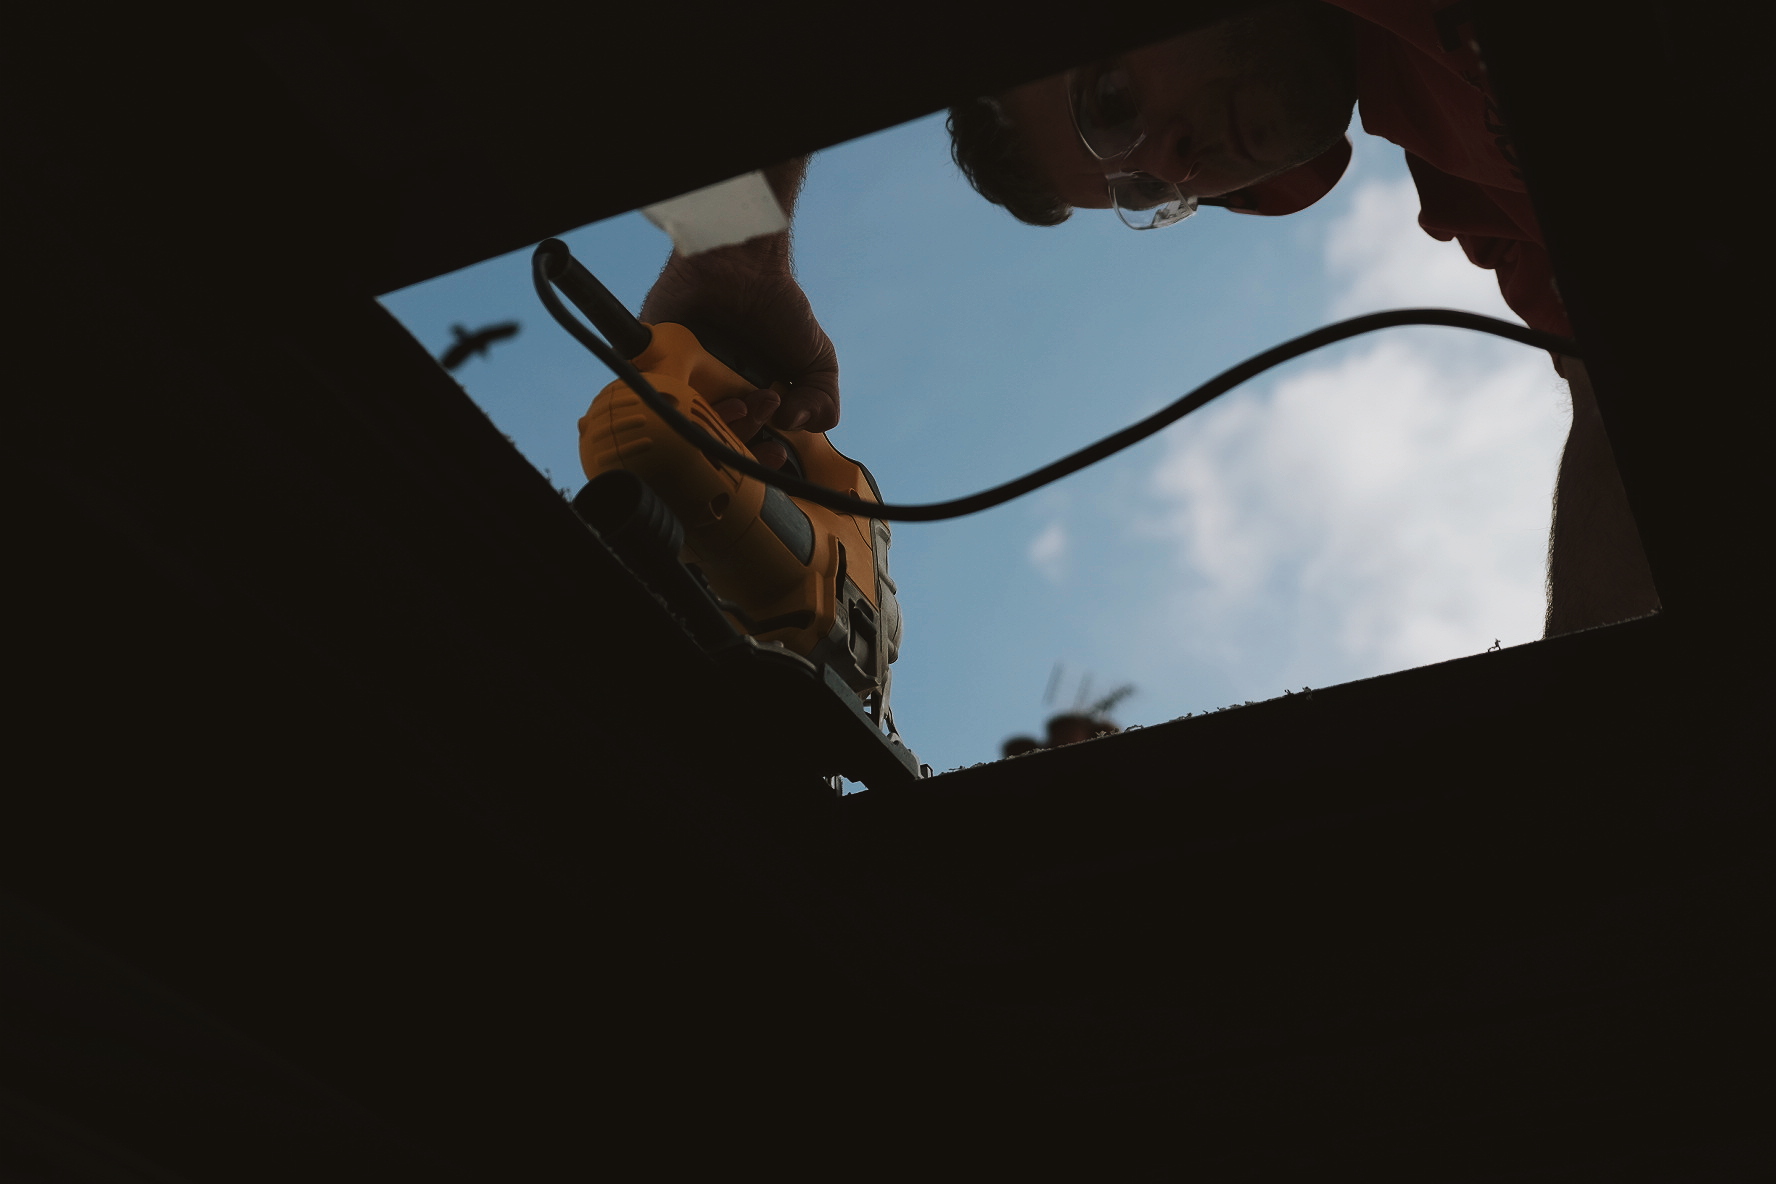
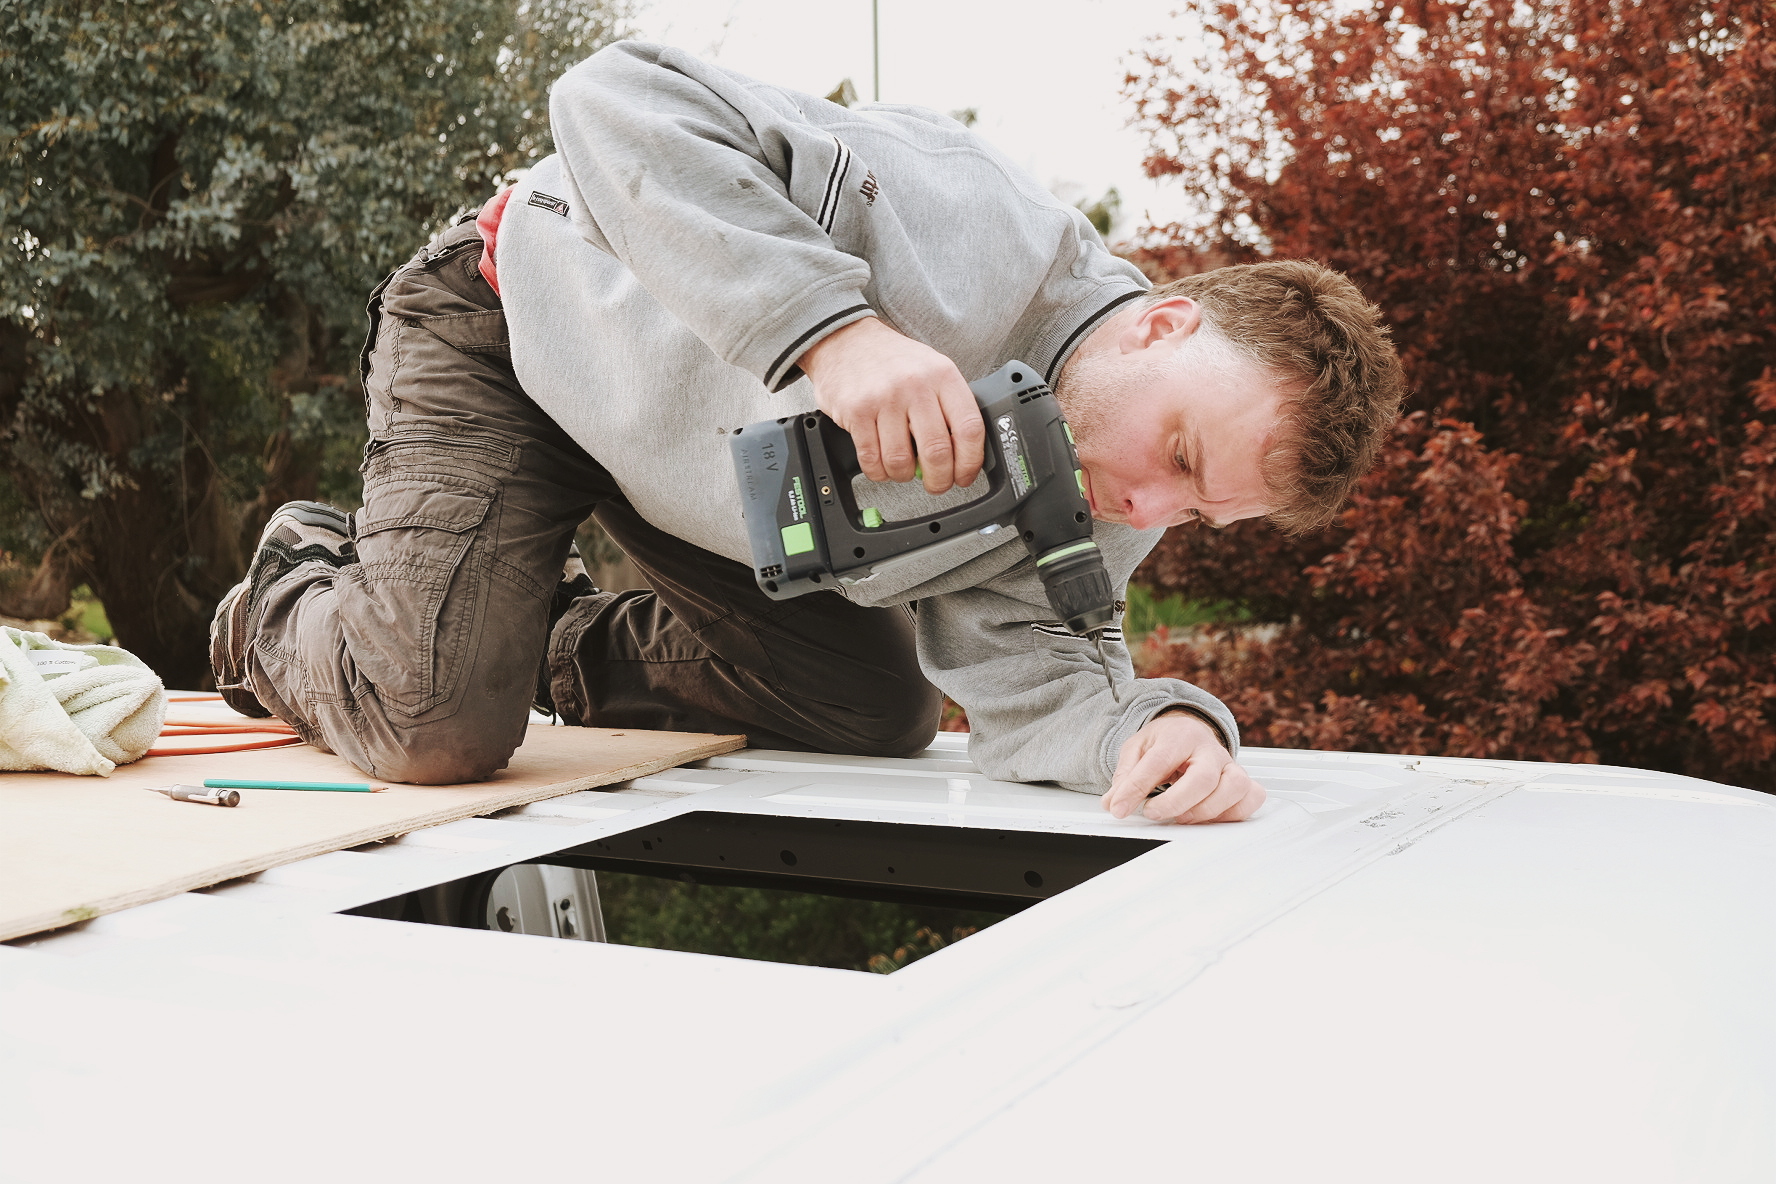
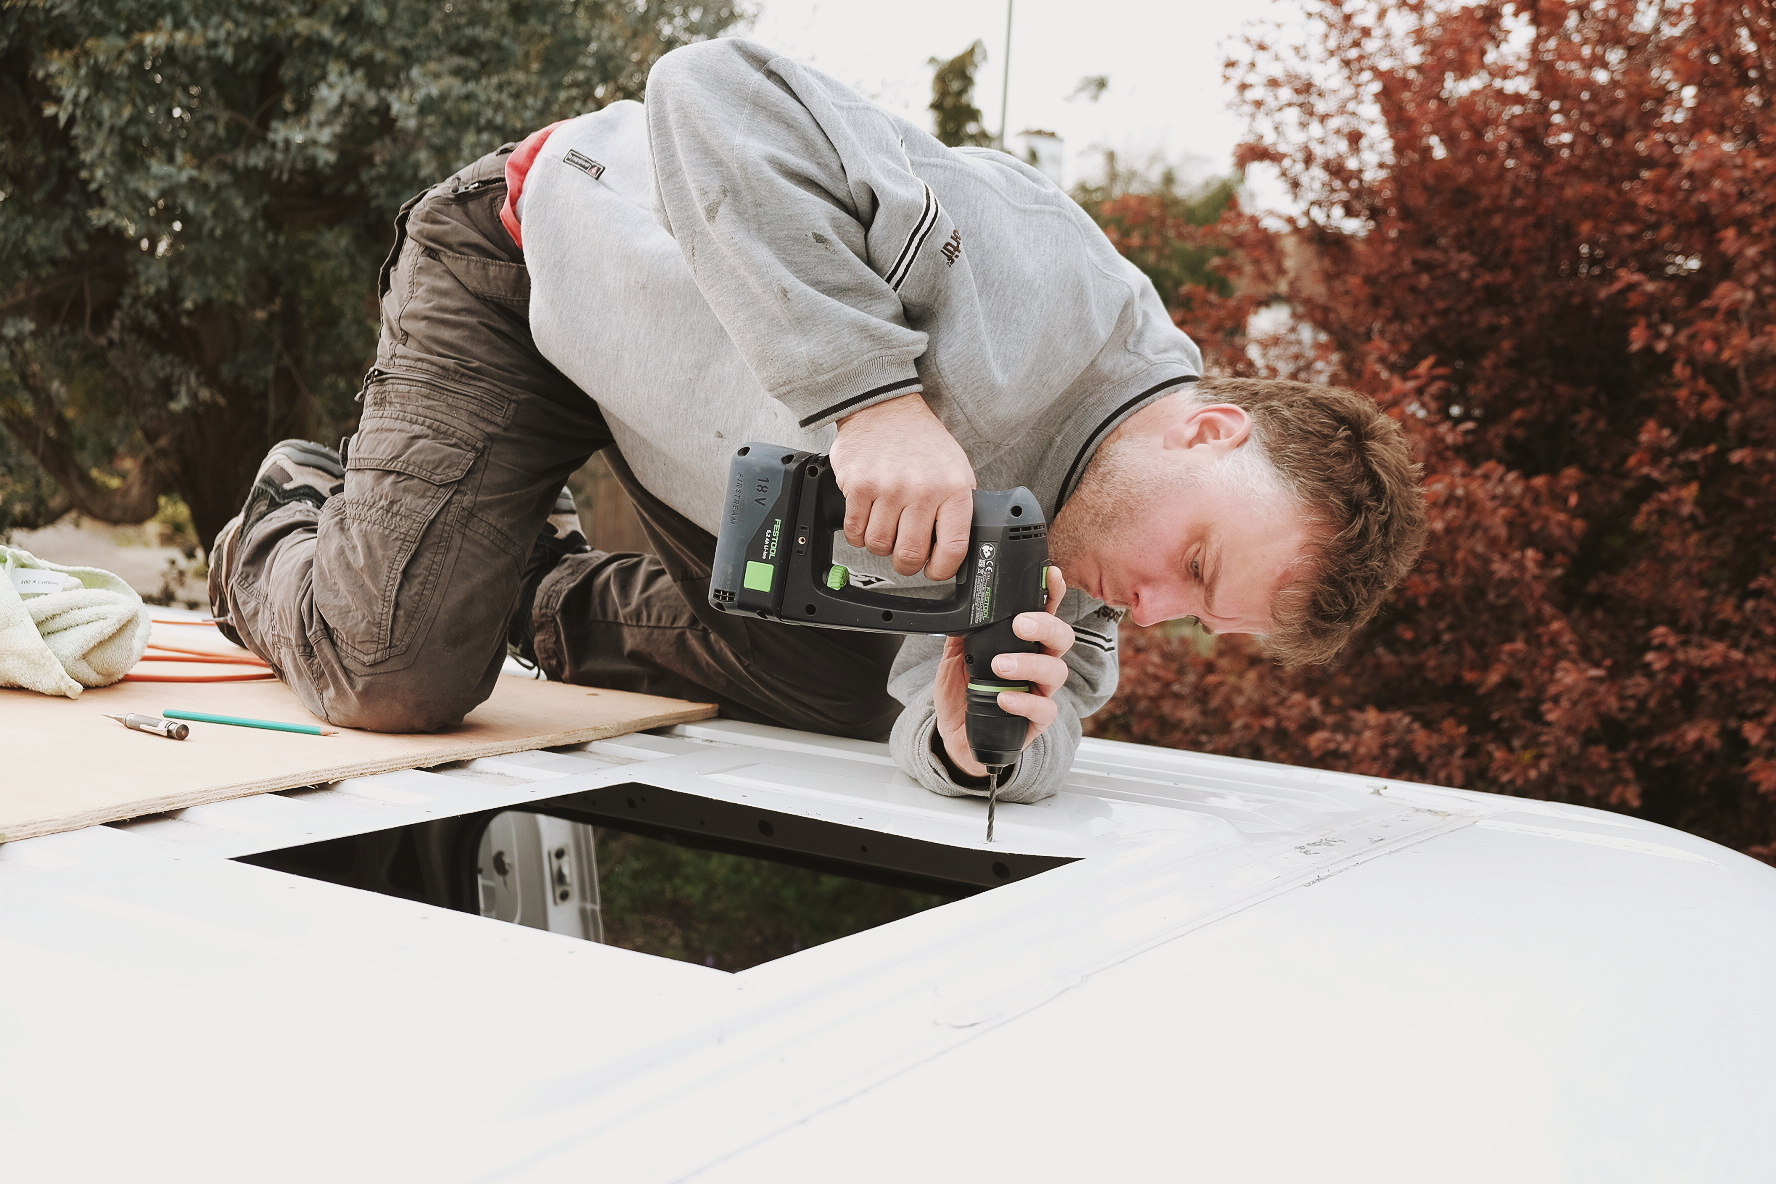
So come the weekend it was time to fit our new fan. Now this was definitely a case of measure 6 times cut once – you do not want to cut an oversize, or wonky hole in the roof of your van. If you do, there isn’t a whole lot you can do other than buy a bigger rooflight as you can’t easily replace the roof panel… After carefully measuring the mounting frame and then double checking the instructions – yes, it was 400 by 400mm – we put some wide masking tape on the approximate area of the roof so that we could see the pencil marks. We then marked out the cut out making sure that it was parallel to the front face of the van so it wasn’t wonky.
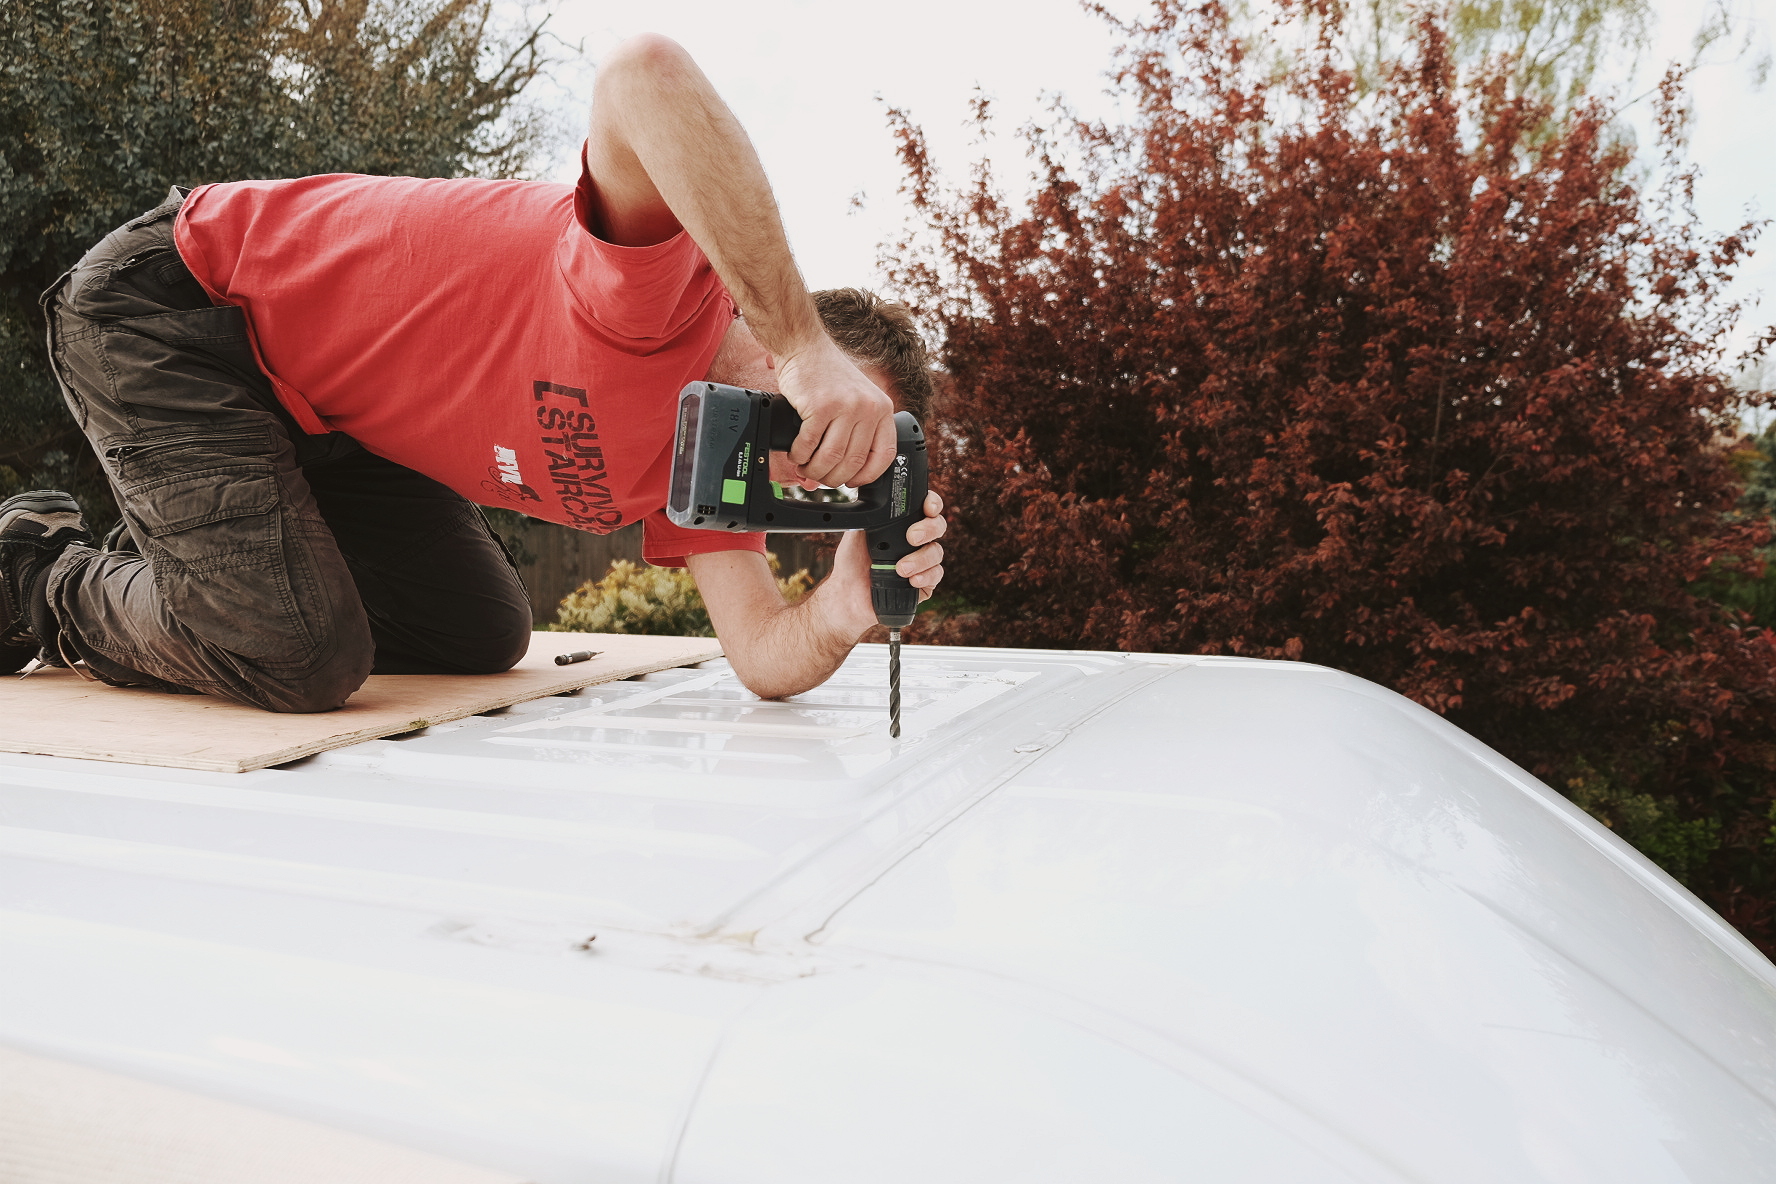
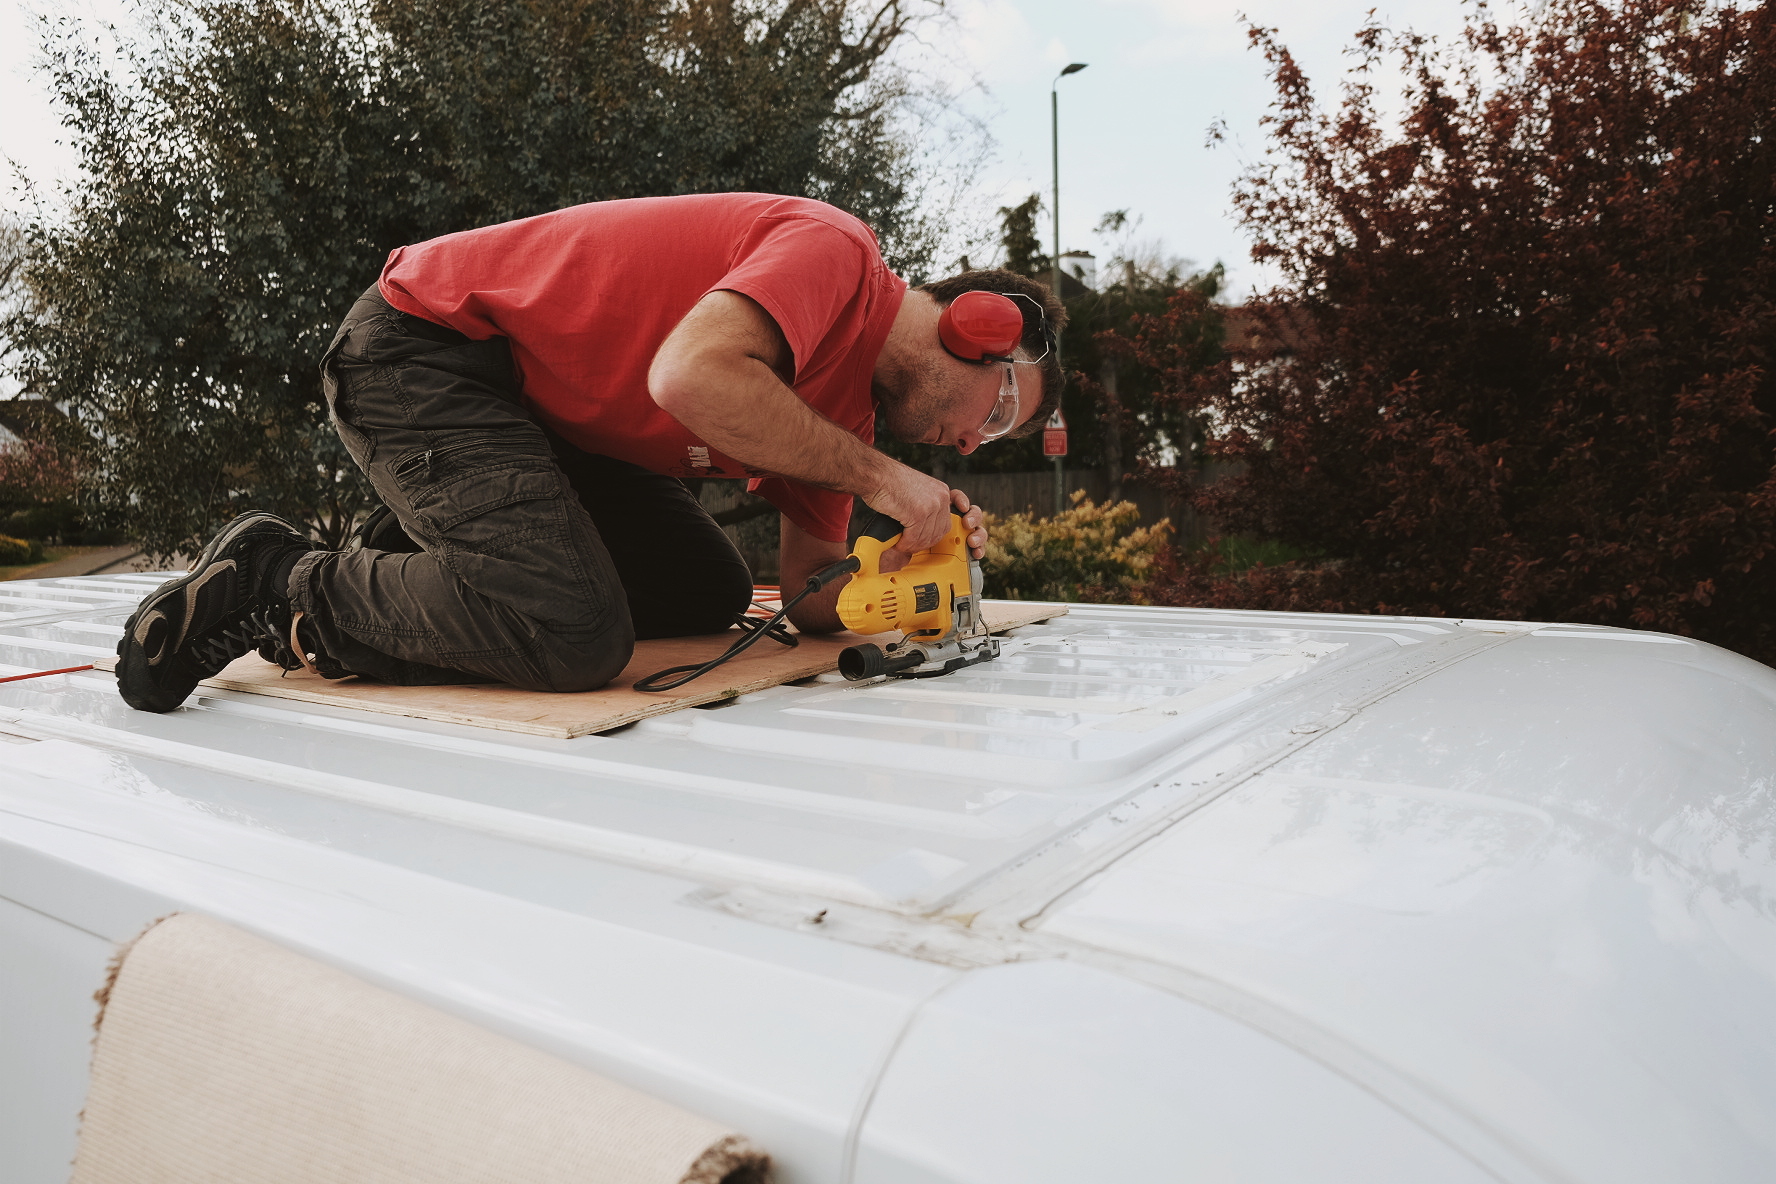
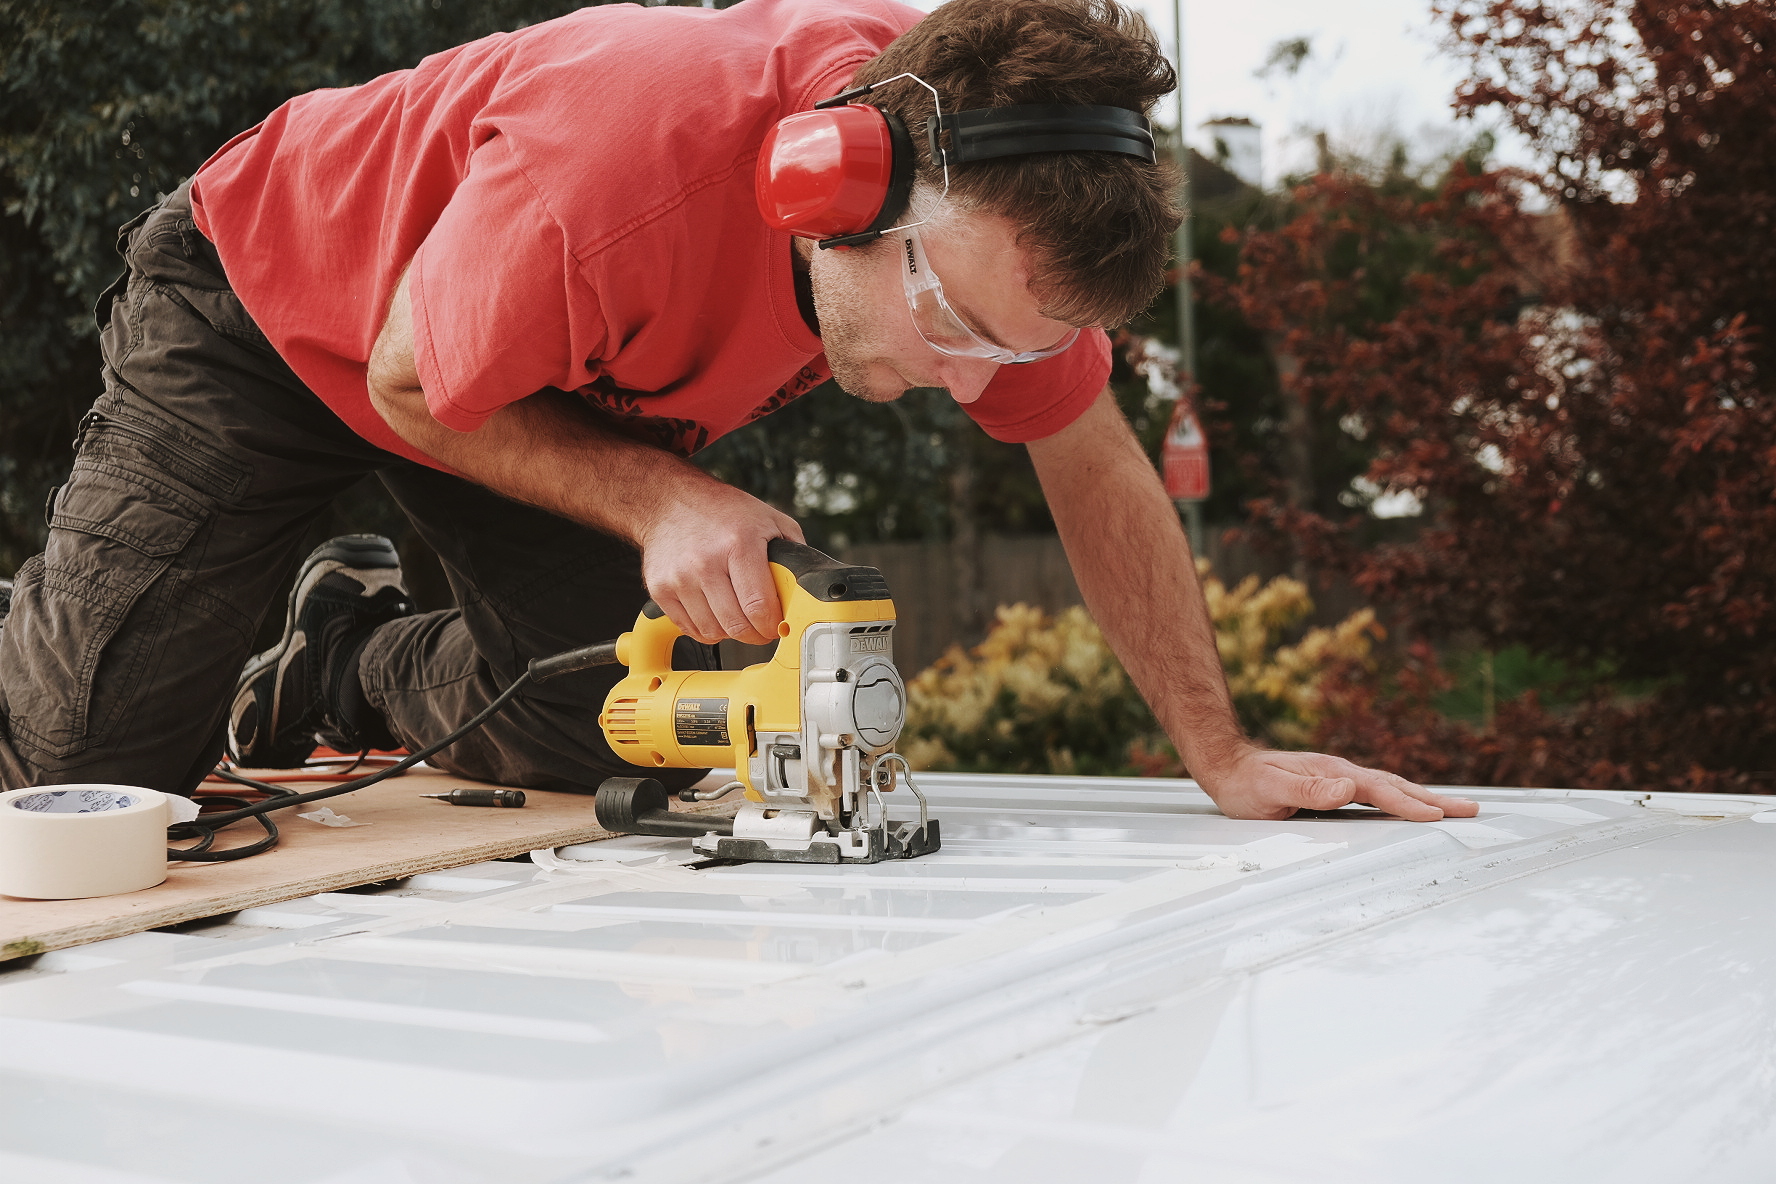
It was then a case of drilling 4 10mm holes, one in each corner, and then using a jig saw with a fine metal cutting blade to cut along the lines. Tip: when you have cut one side retape across it with masking tape to help to stop the bit you are cutting out from vibrating.
It comes in handy here if you are happy using the jig saw with both hands but you can get by if not. Ideally you want to cut the line so you will have a hole 1 -2 mm bigger than the cut of of your frame to make sure it fits in easily. If you err, err on the too small side as it is easy to file away any areas where it is too big, but if you cut too much off you can’t put it back on!

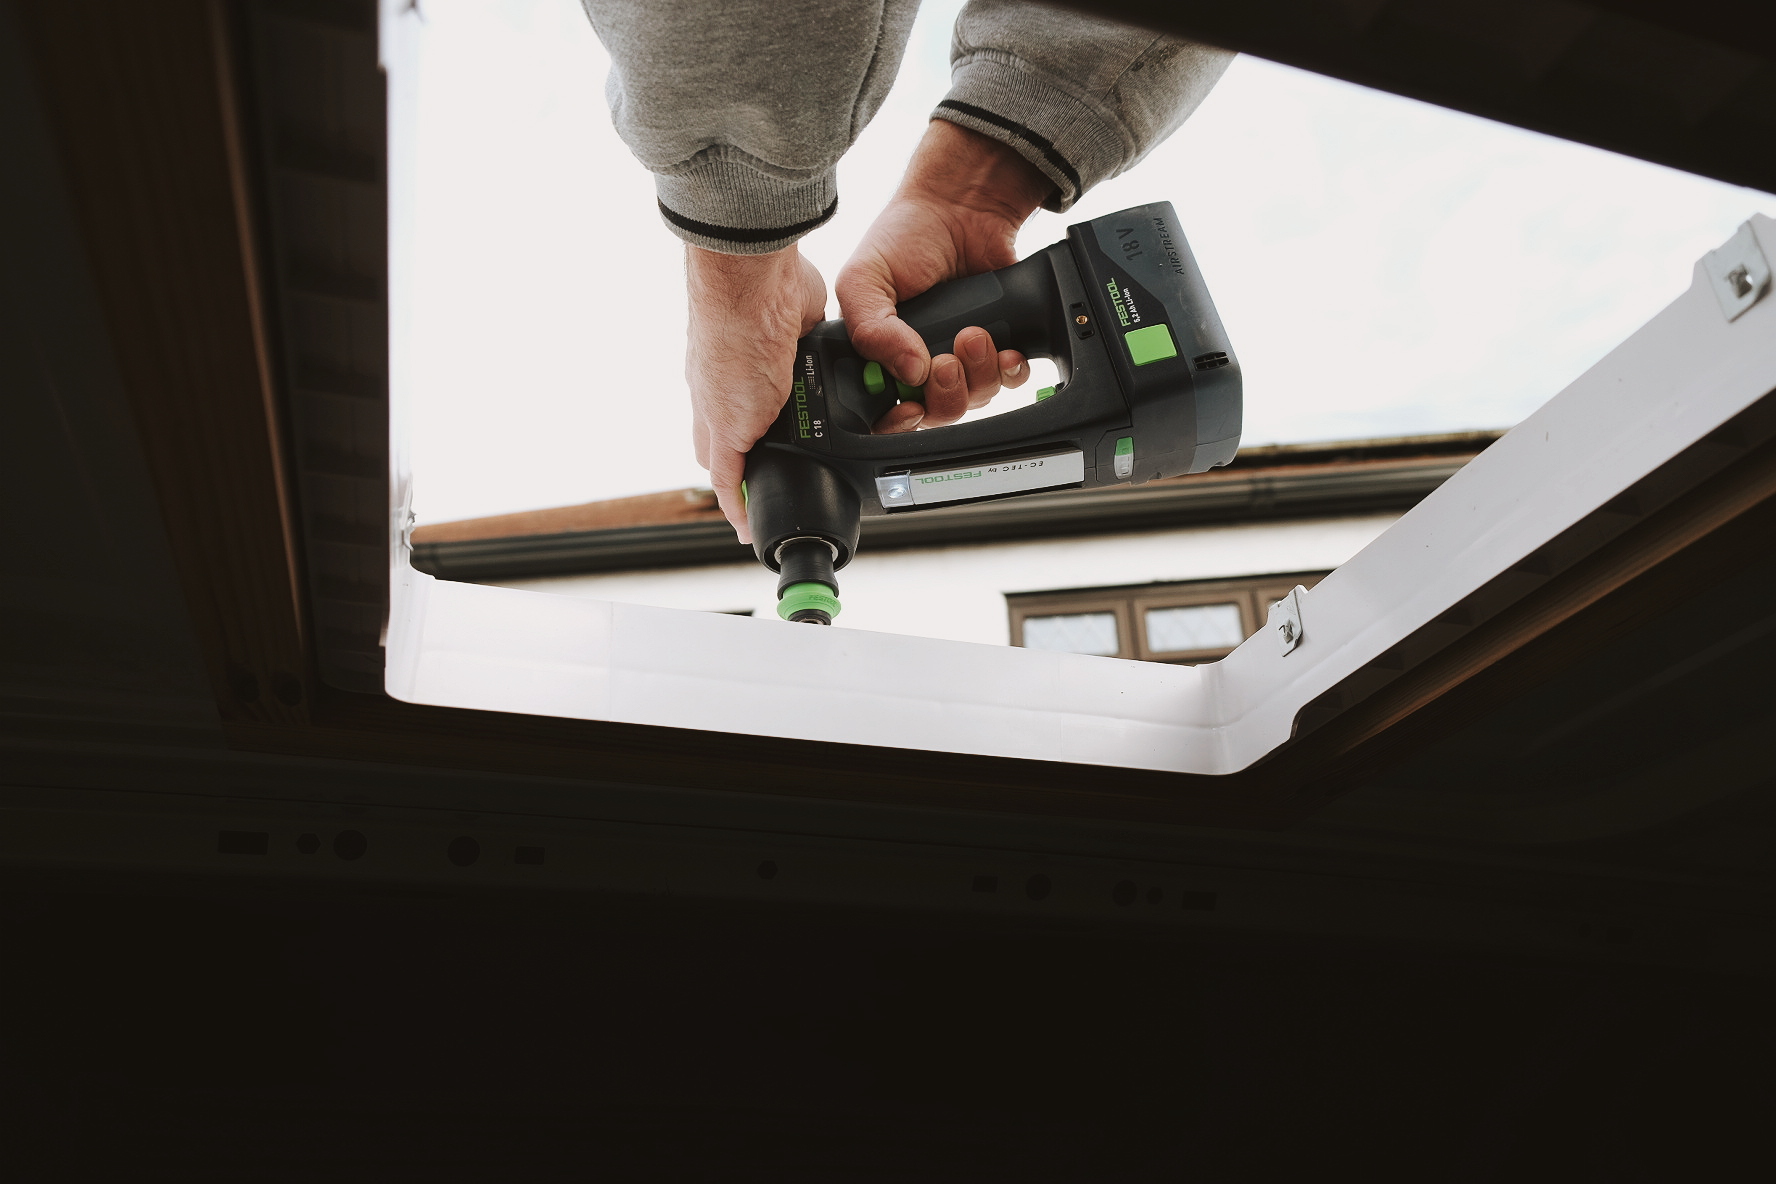
After making the hole it was time to give the edges a light file to remove any sharp bits, then a quick coat of hammerite on the bare metal. The MaxxFan has a mounting bracket that screws down to the roof (well, screws into the wooden frame we described above), so next we marked and drilled the roof for each screw hole.

Next it was time to liberally apply sealant, we used seamseal, including into each of the screwholes. We then screwed the mounting bracket down and the MaxxFan in, and all that is left is to wire it up when we install the electrics.
We are really happy with our choice as it lets in more light than we thought it might (we went for smoke tint) and trying to put an extra rooflight over the bed may have felt a bit weird. Update: we have decided to add the extra rooflight after all!
